 |
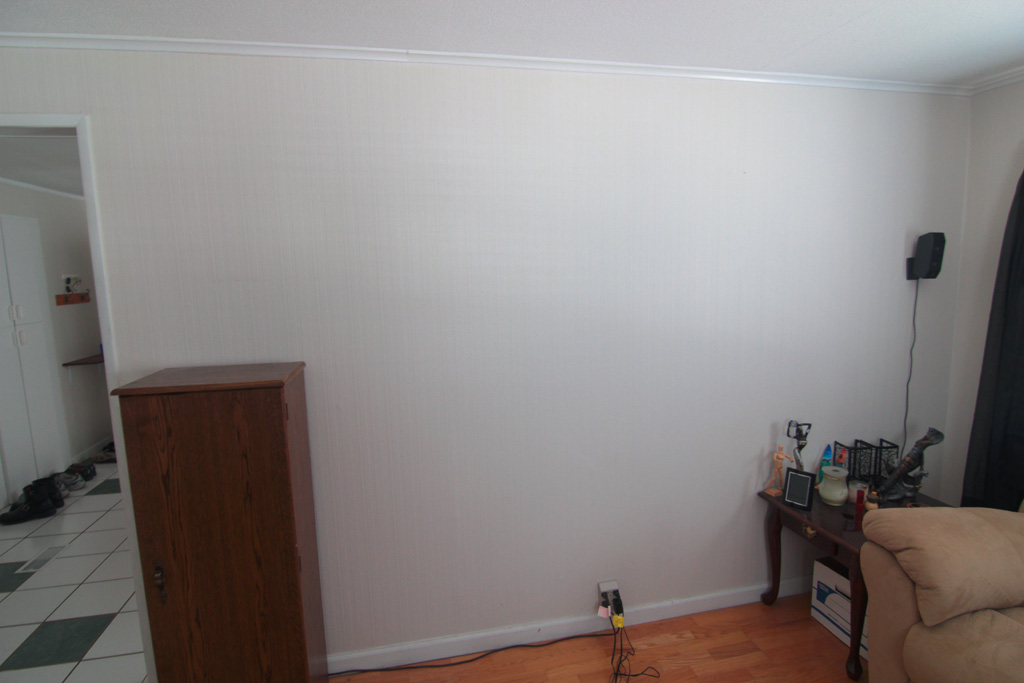
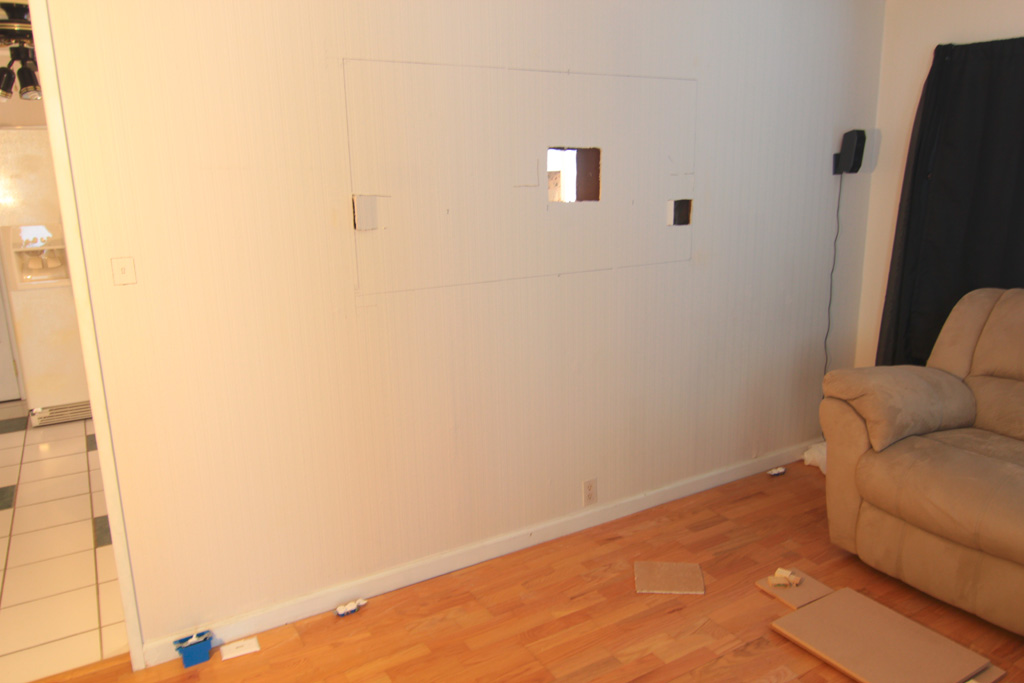
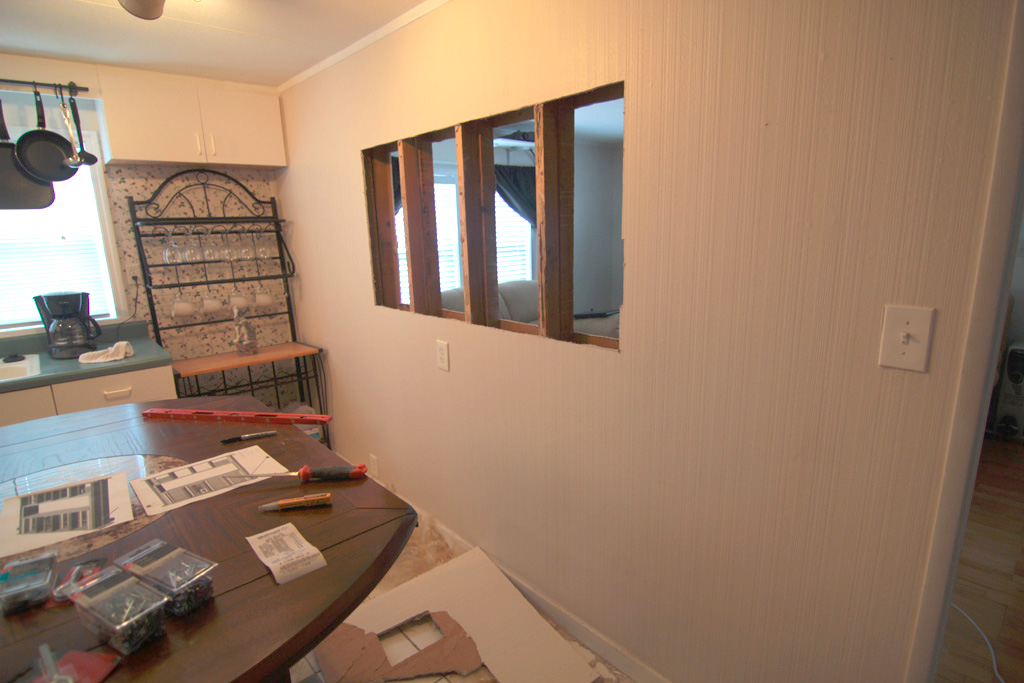
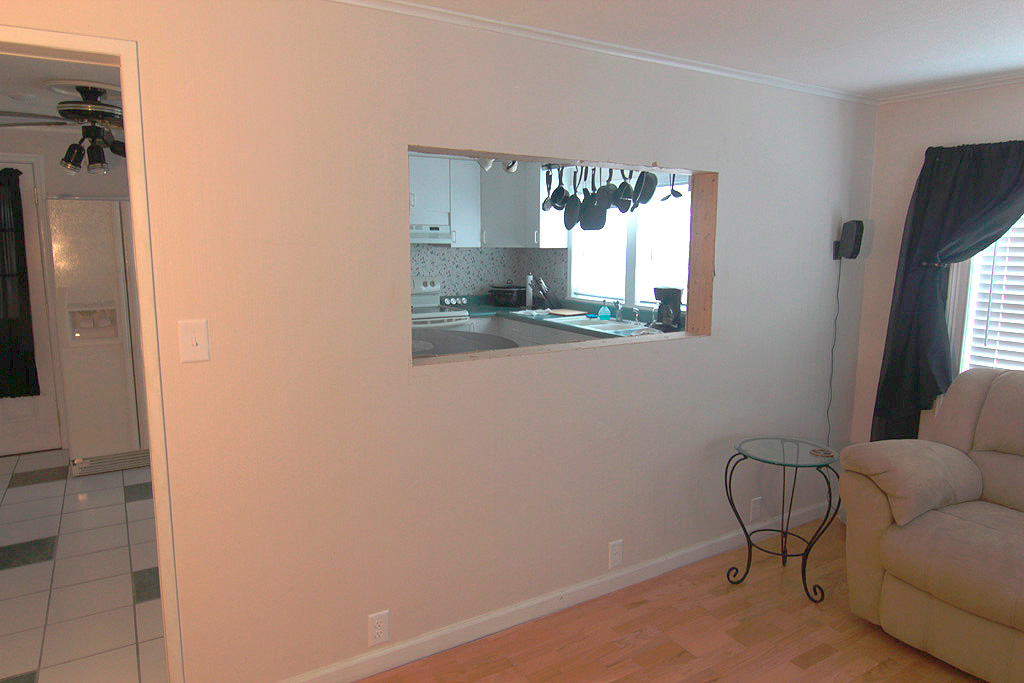
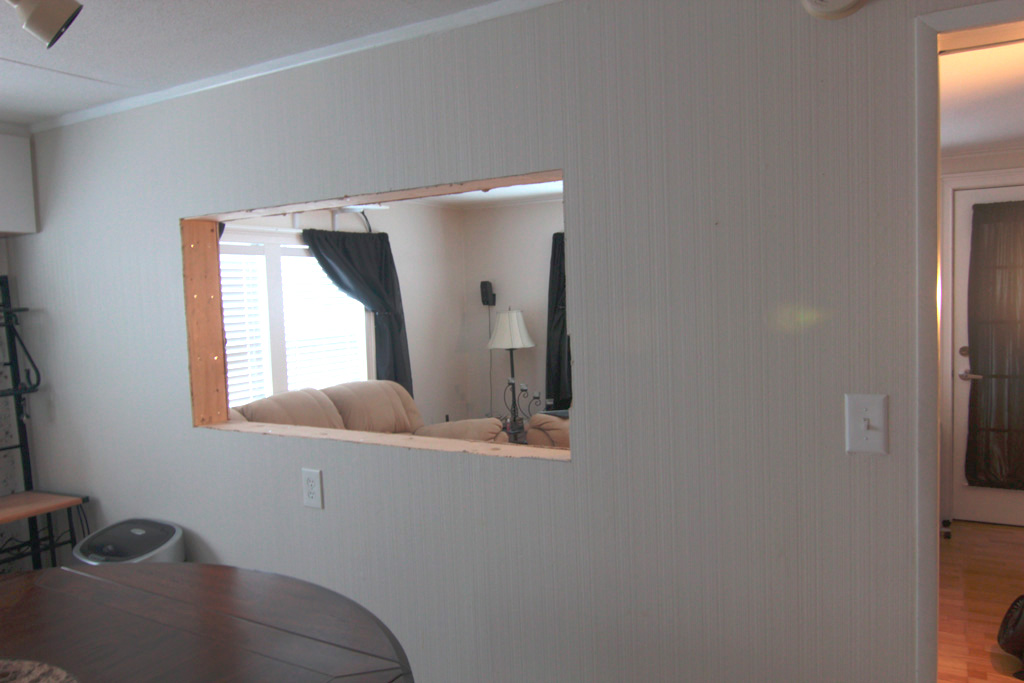
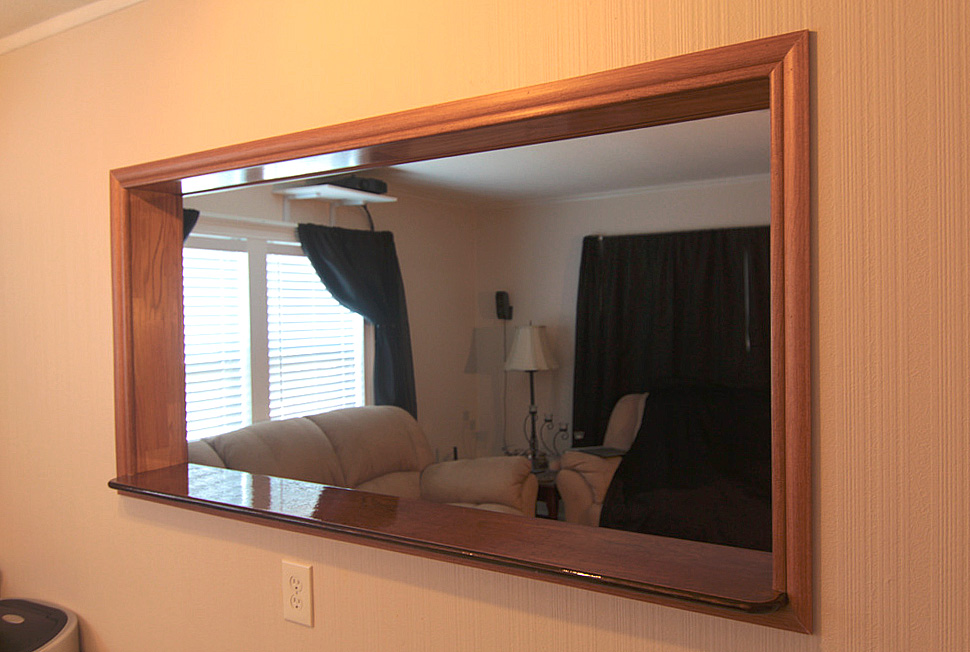
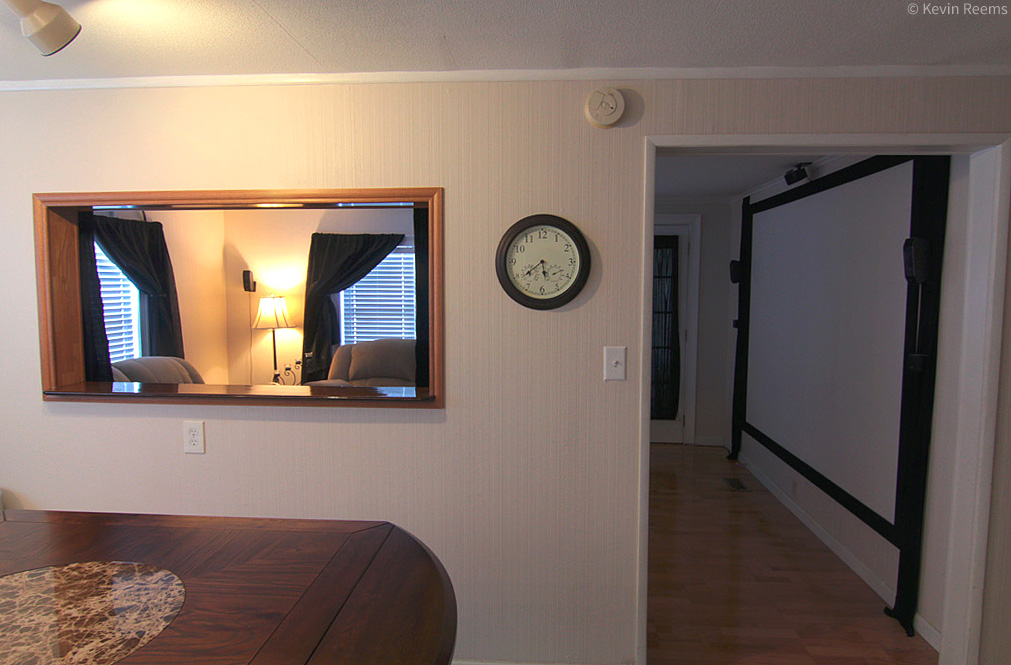
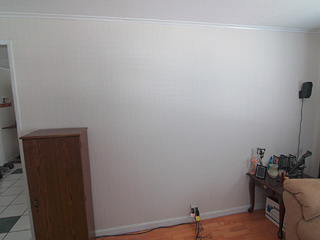
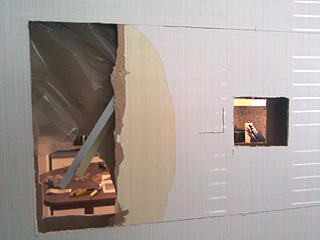
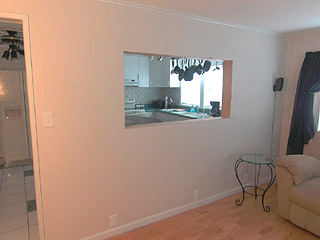
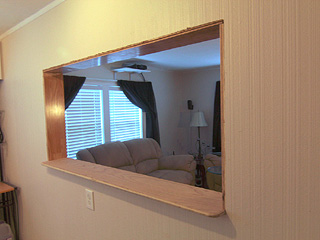
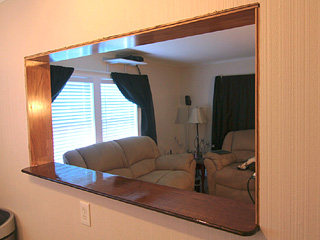
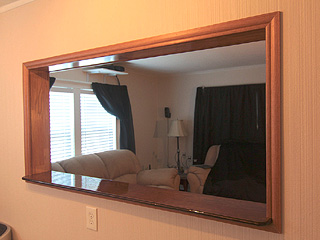
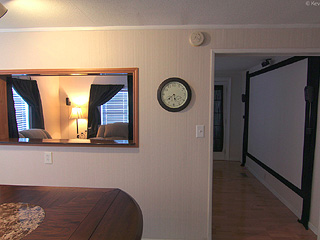
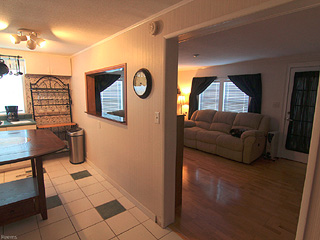
| The living room side of the wall. |
|
 |
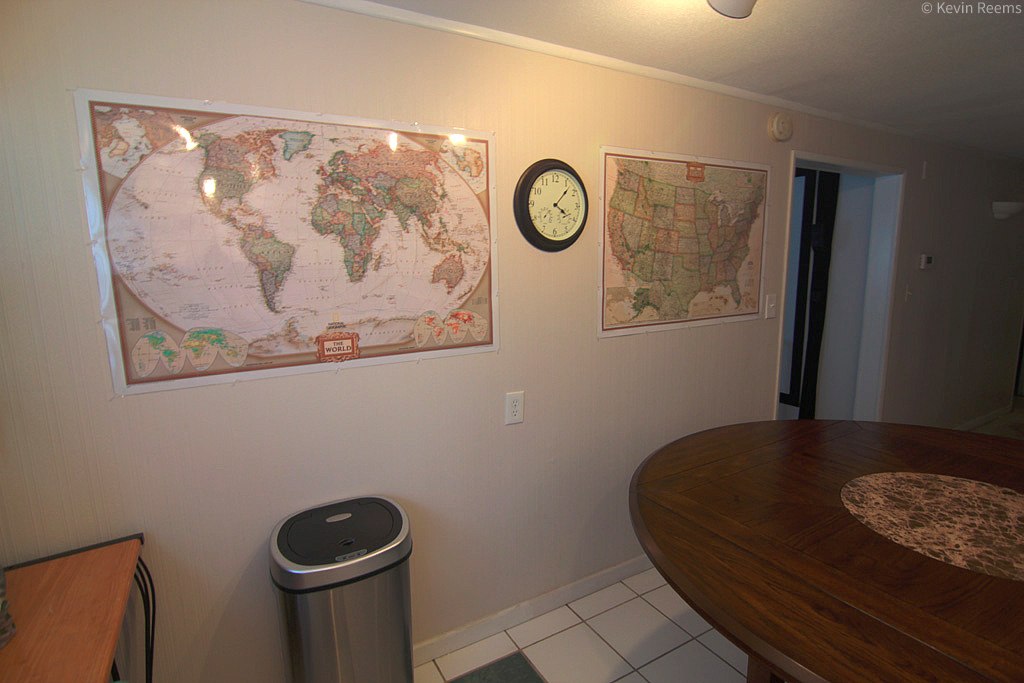
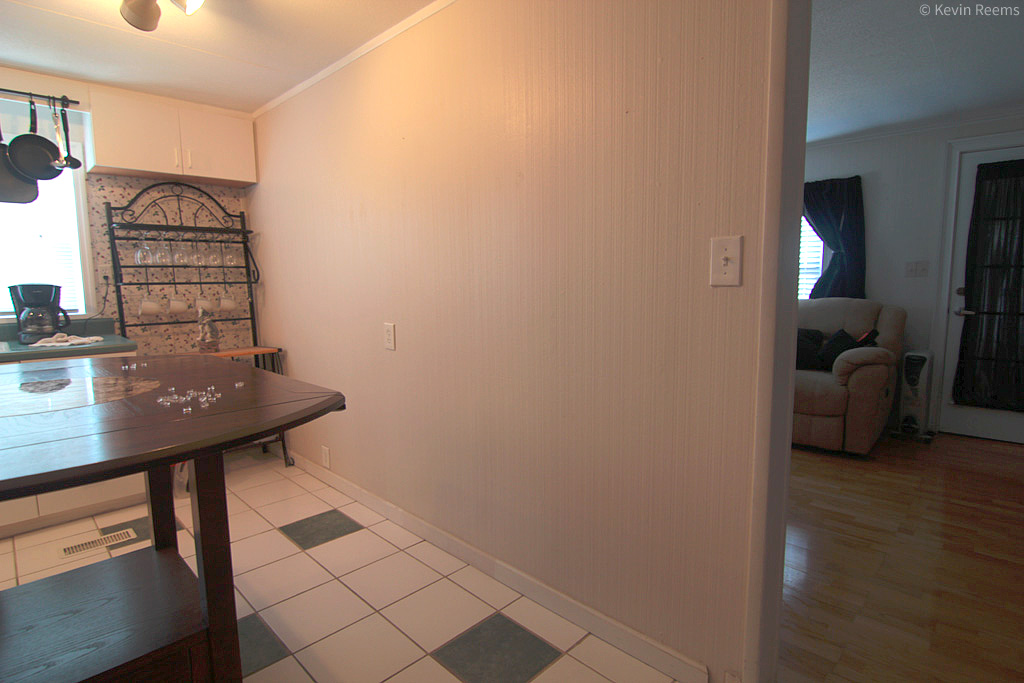
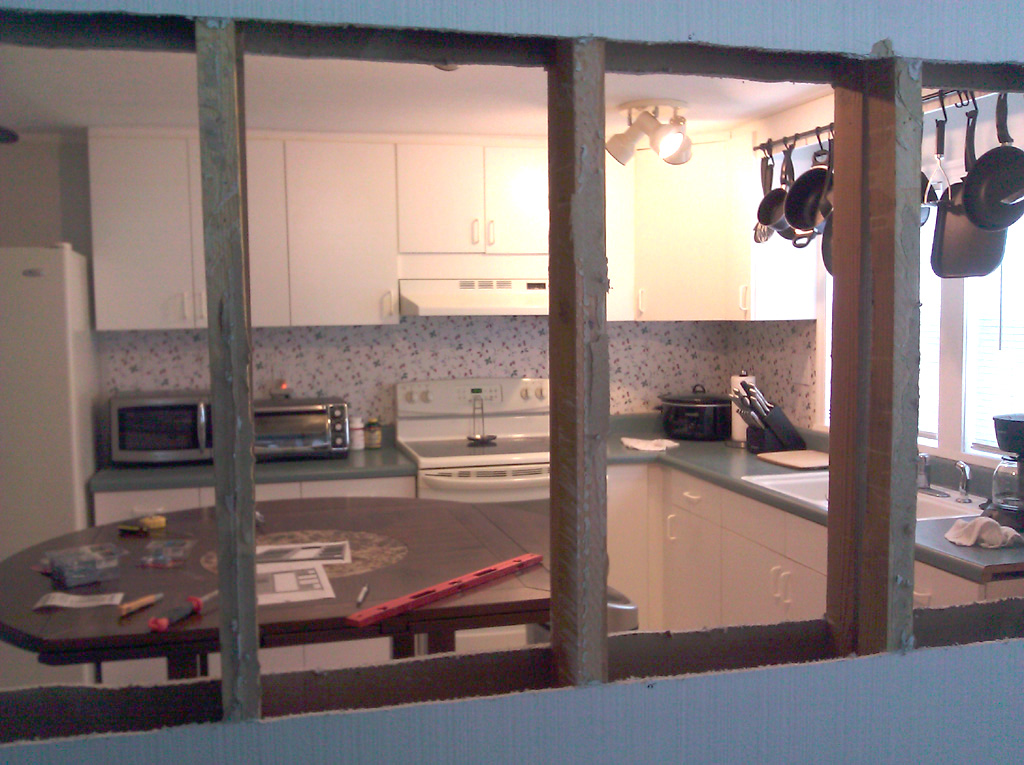
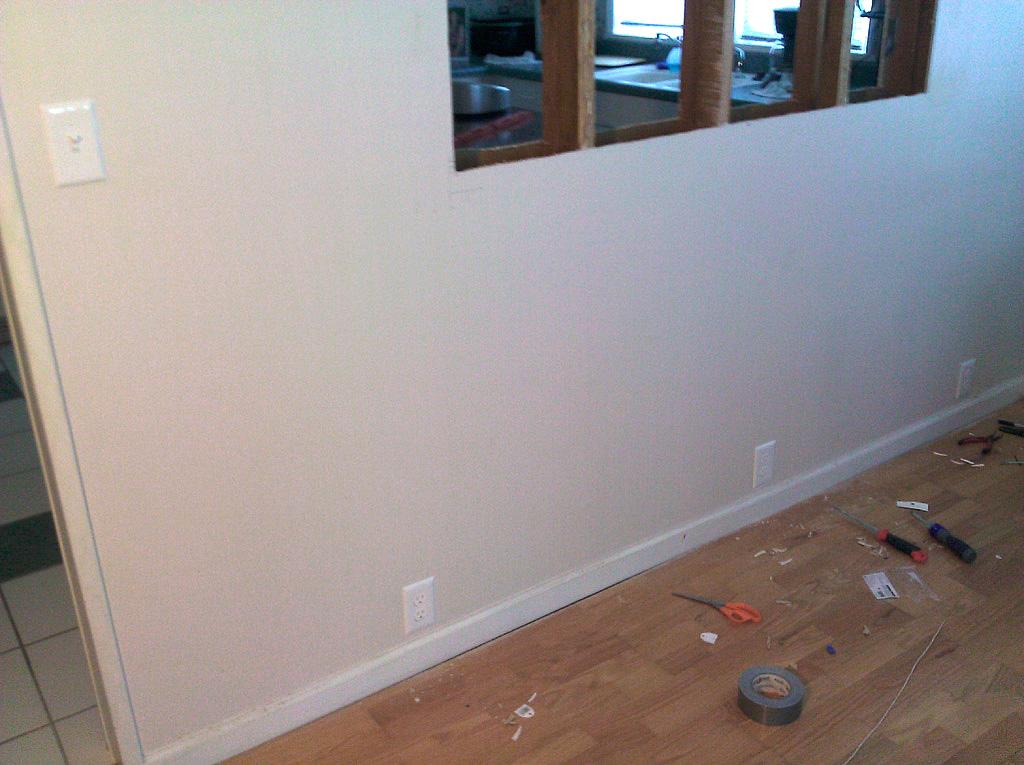
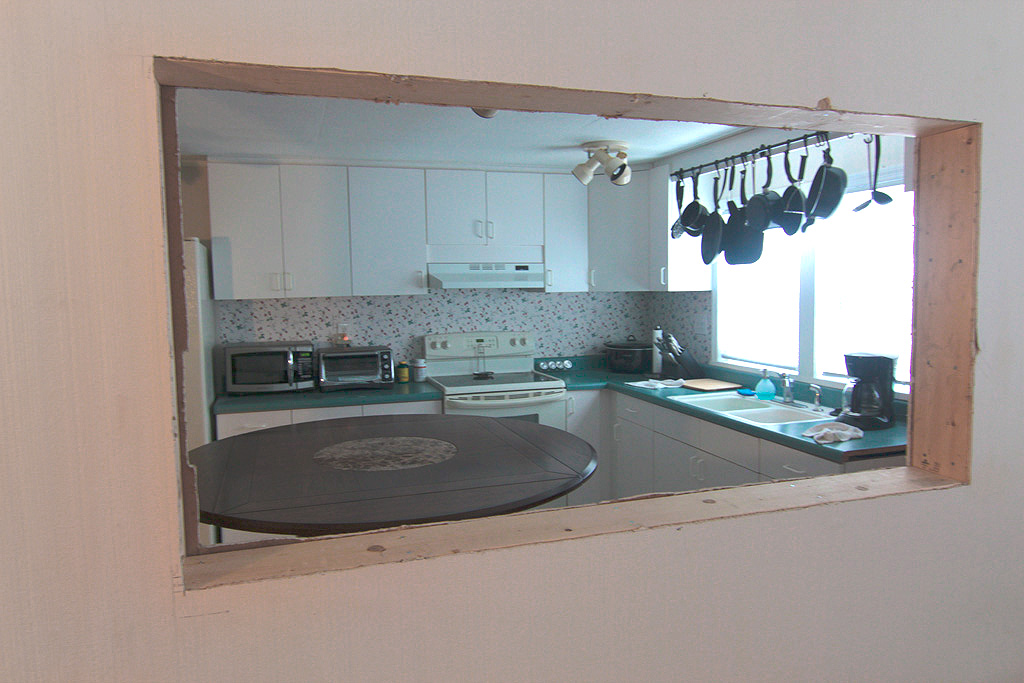
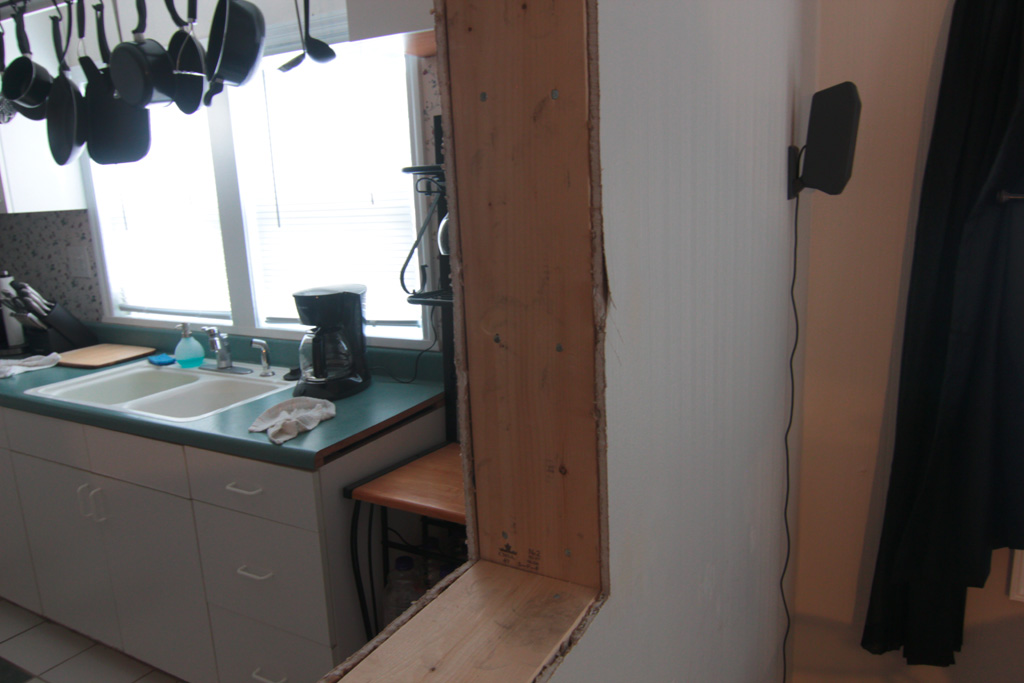
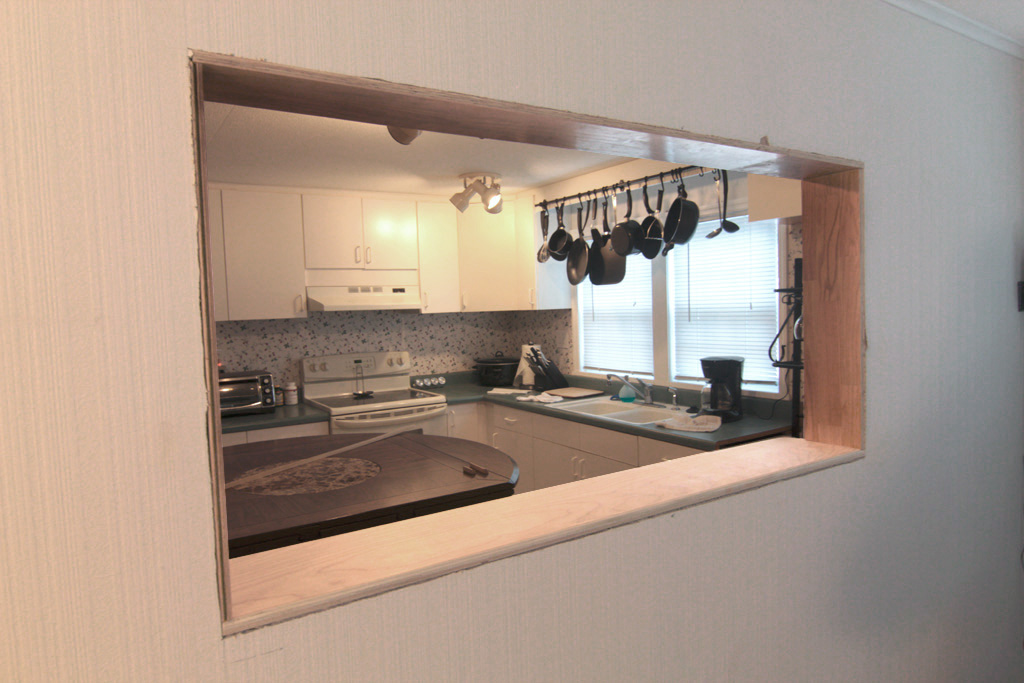
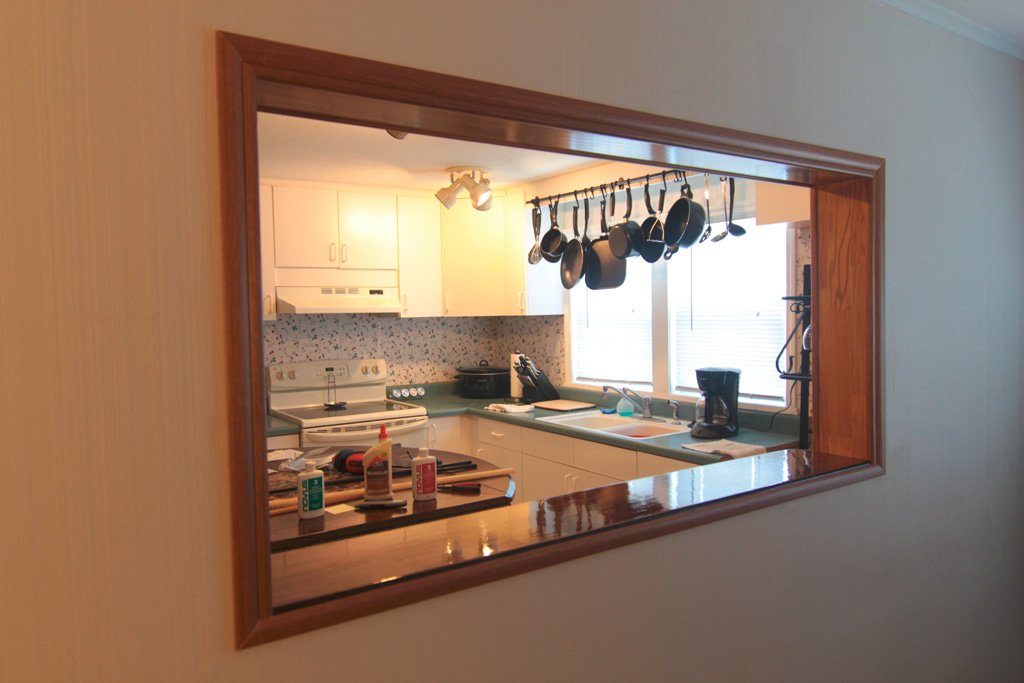
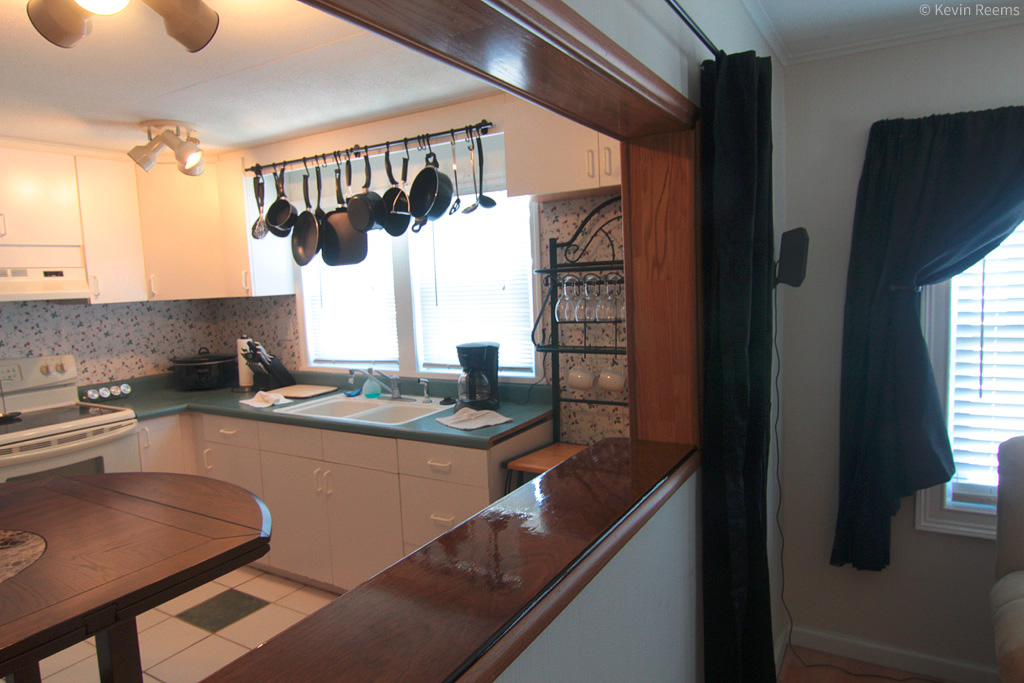
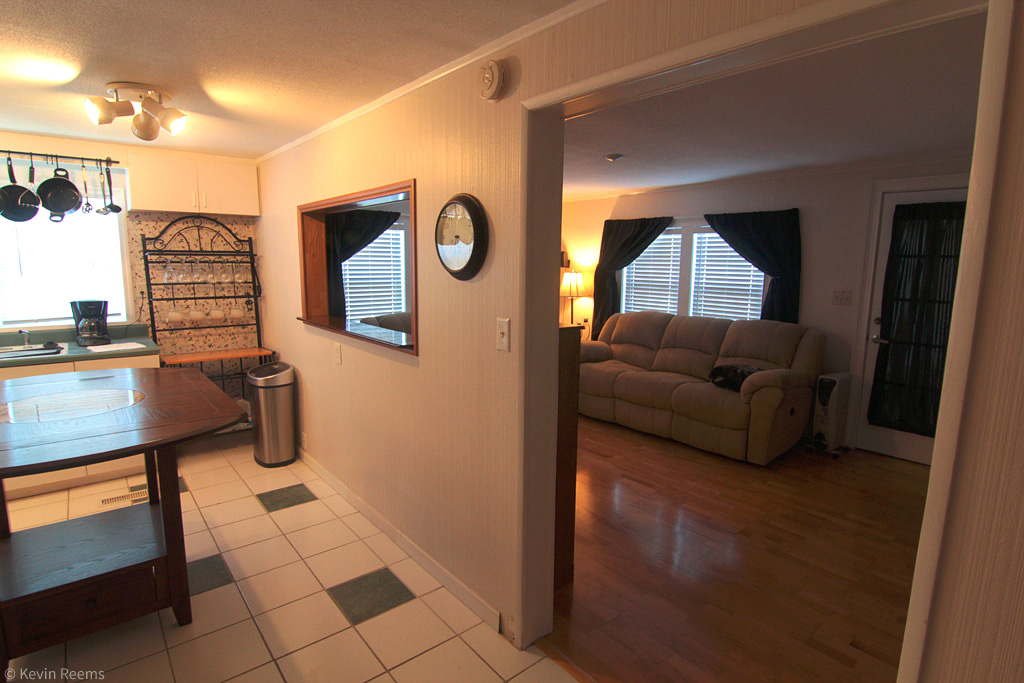
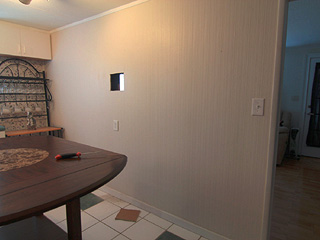
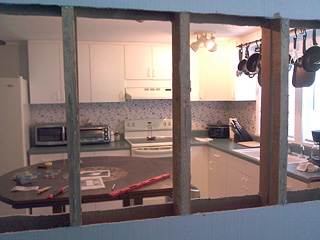
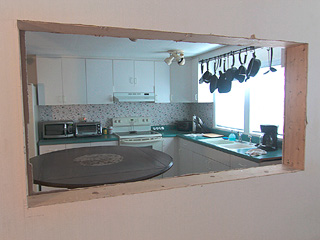
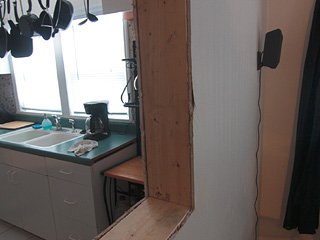
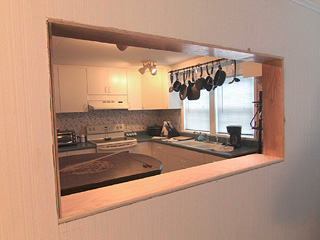
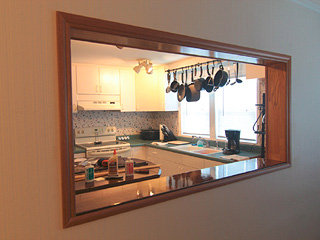
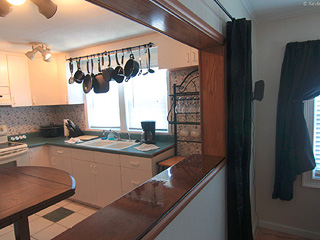
| And the kitchen side. Clearly this wall is in the way. |
|
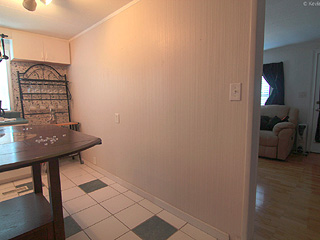 |
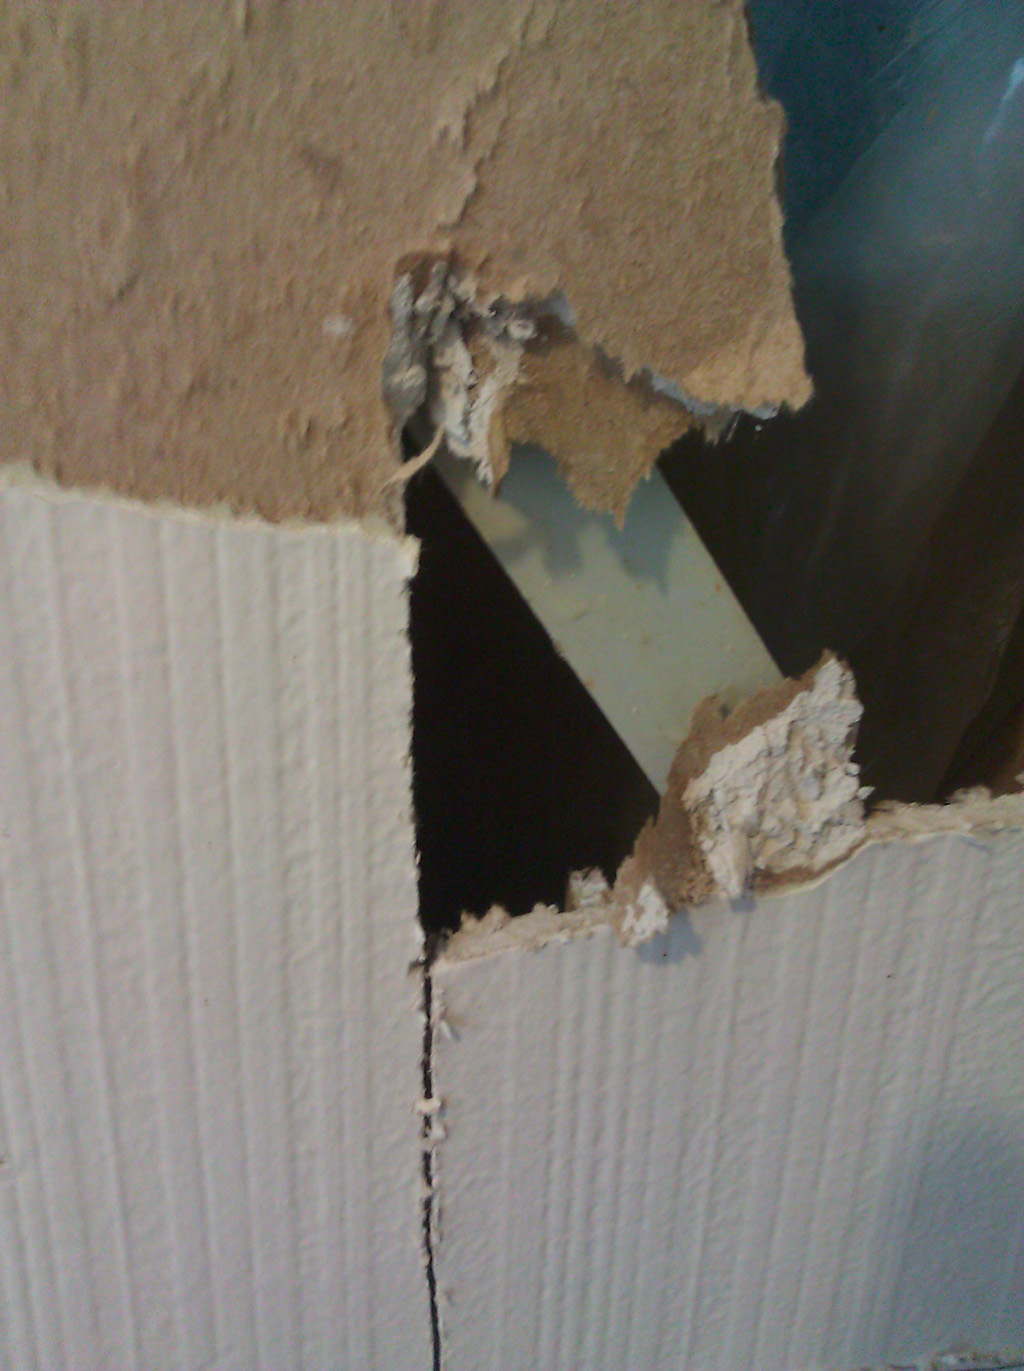
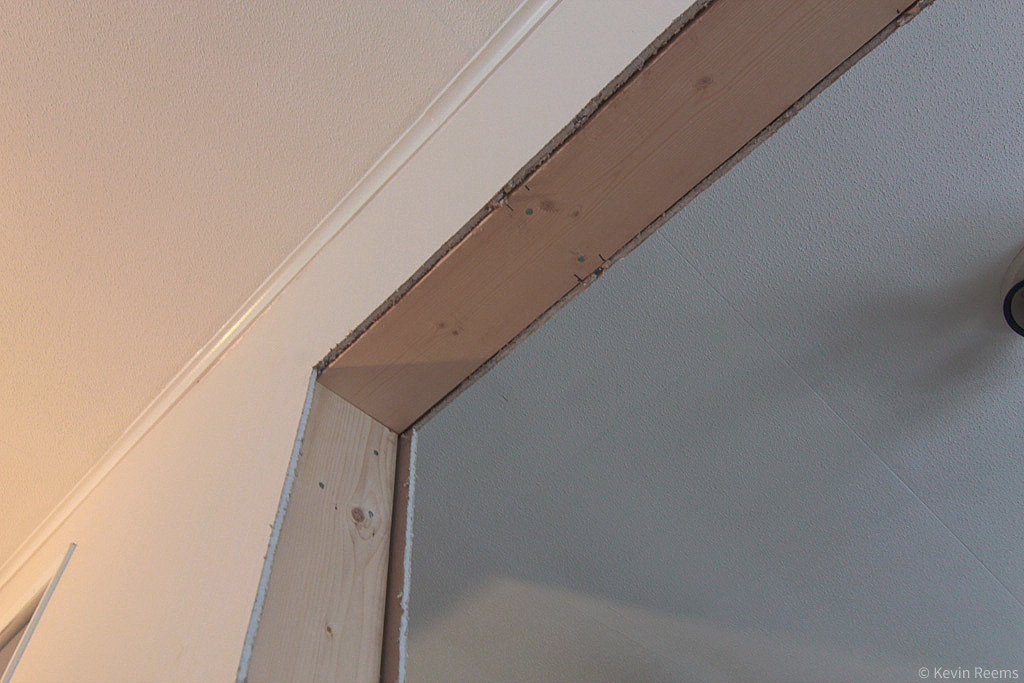
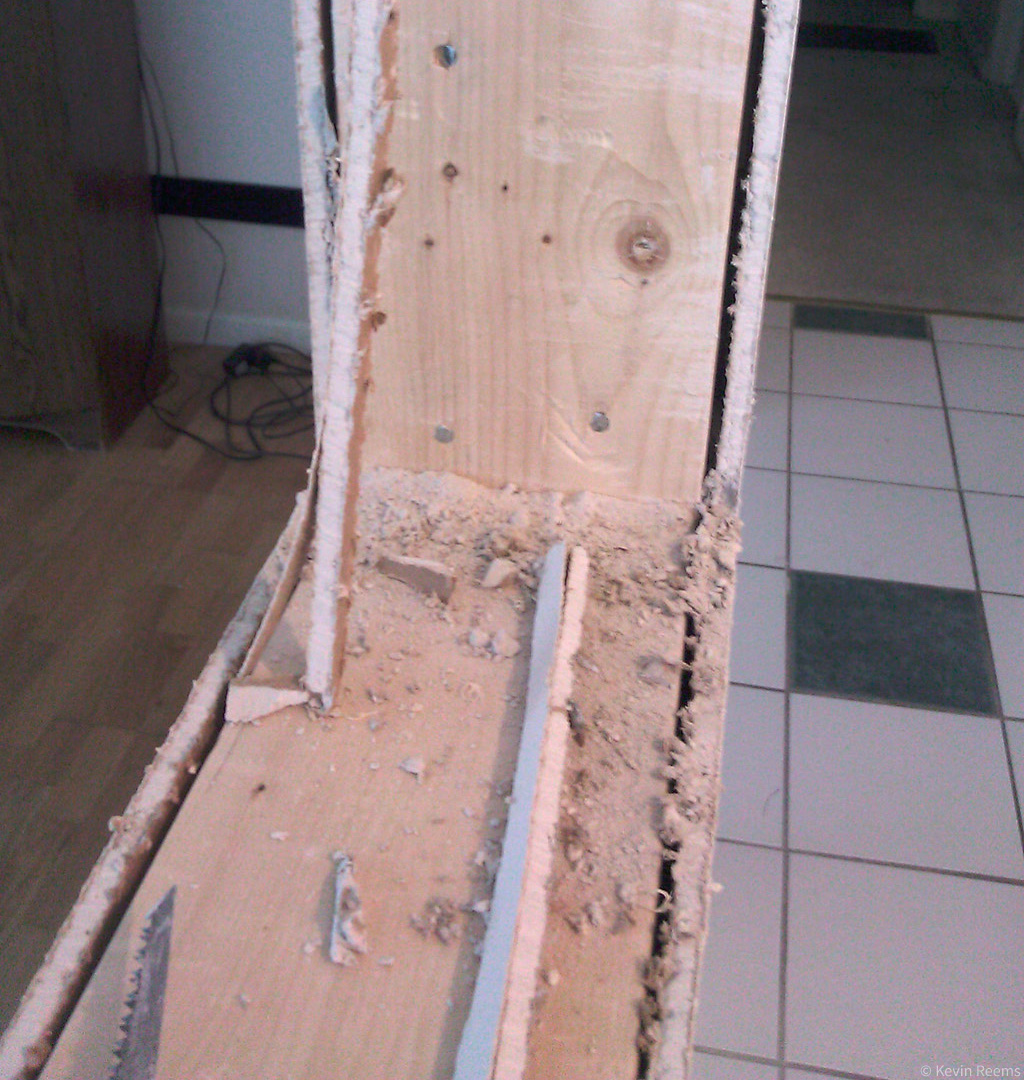
| This is a middle wall in a double-wide manufactured home. These homes are trucked in one half at a time. Meaning each have is it's own structure. |
|
 |
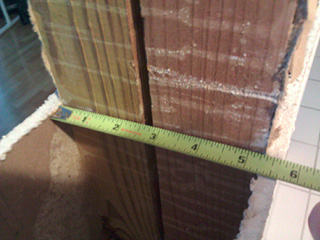
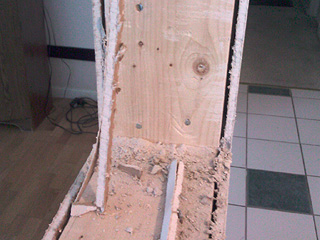
| What this means is this wall actually has two frames. One for each structure. |
|
 |
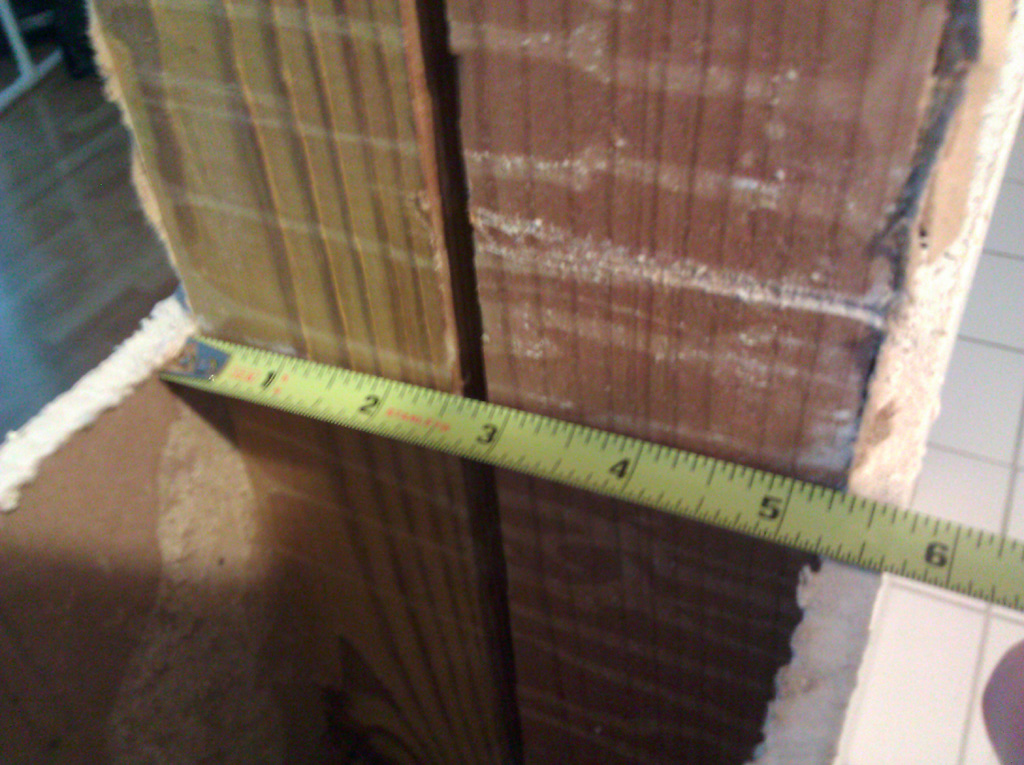
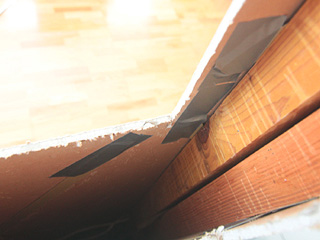
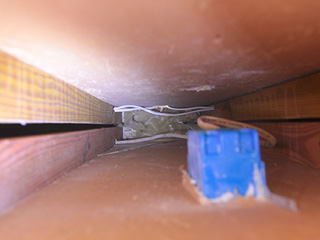
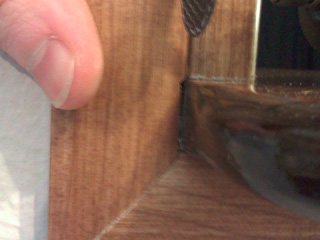
| The studs are 2x3 inch. There's a 1/2 inch gap between the frames but this is not consistent. The plastic you see here is leftover from when the units are trucked. |
|
 |
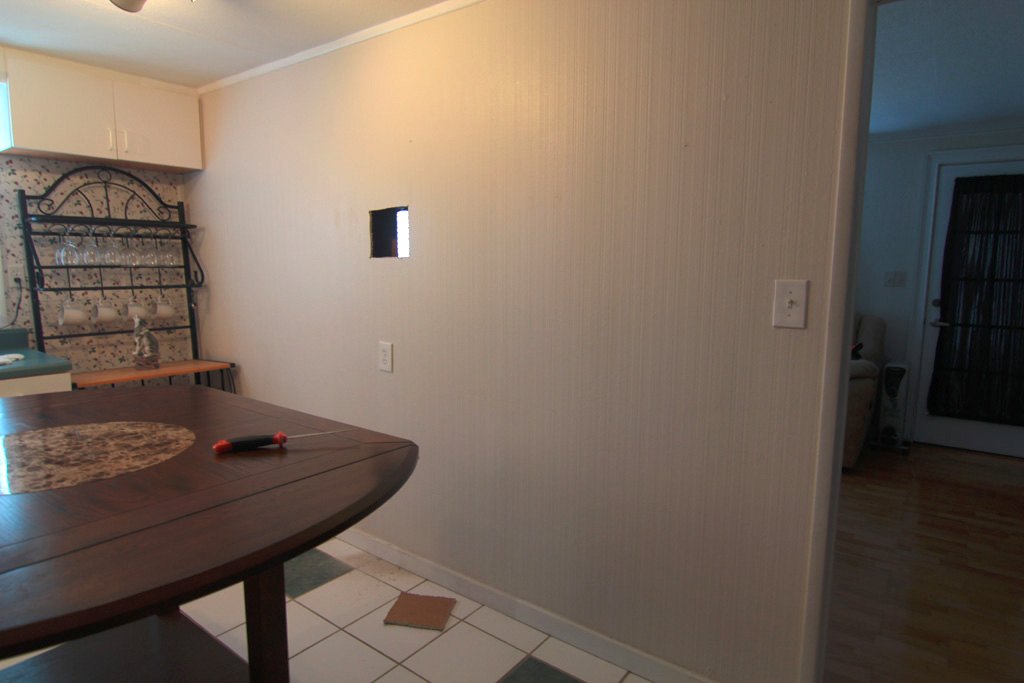
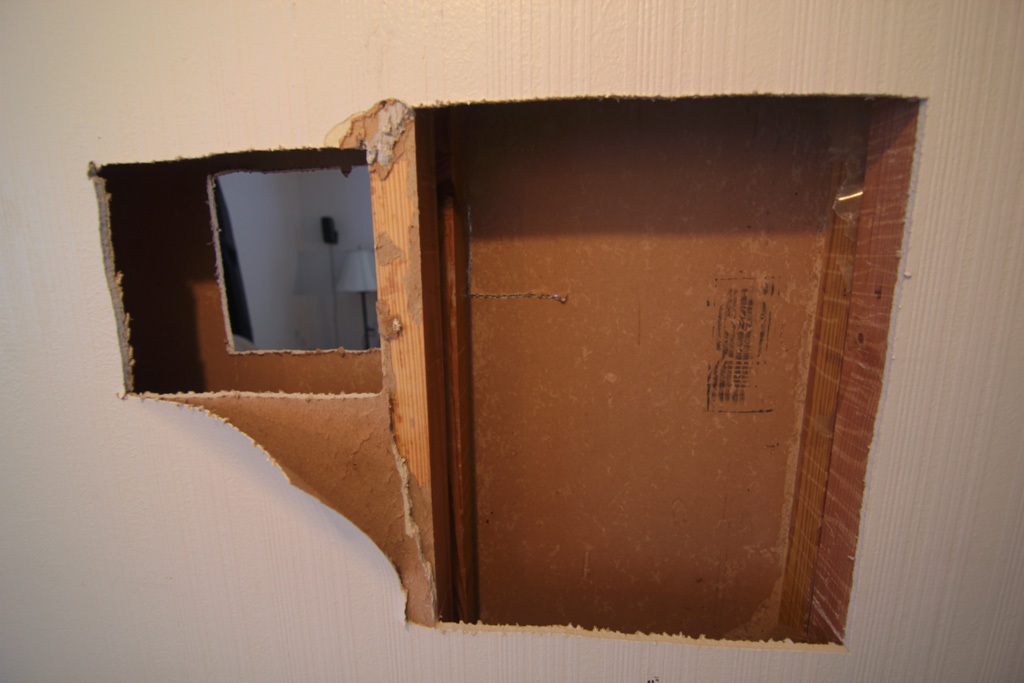
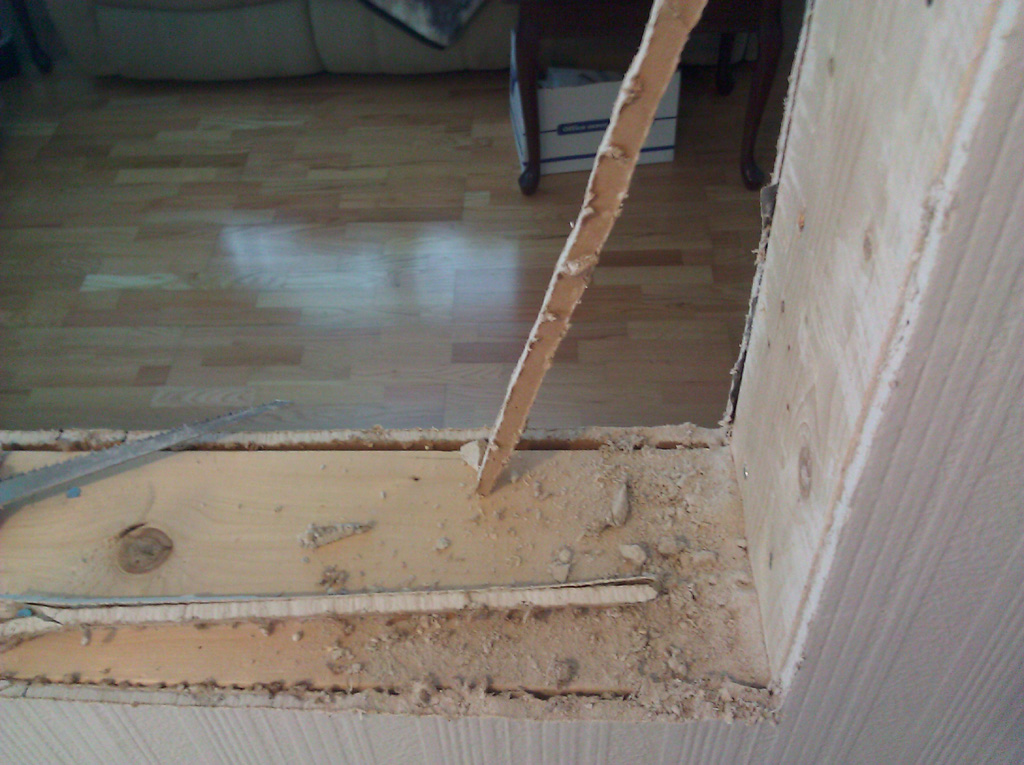
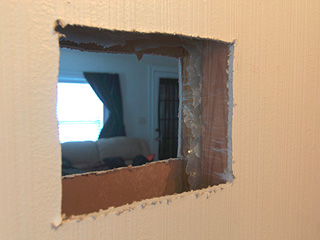
| I made a bigger hole just to get a better look. |
|
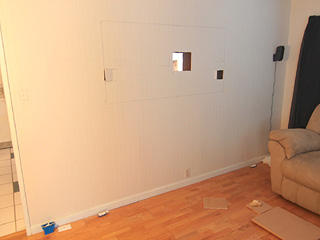 |
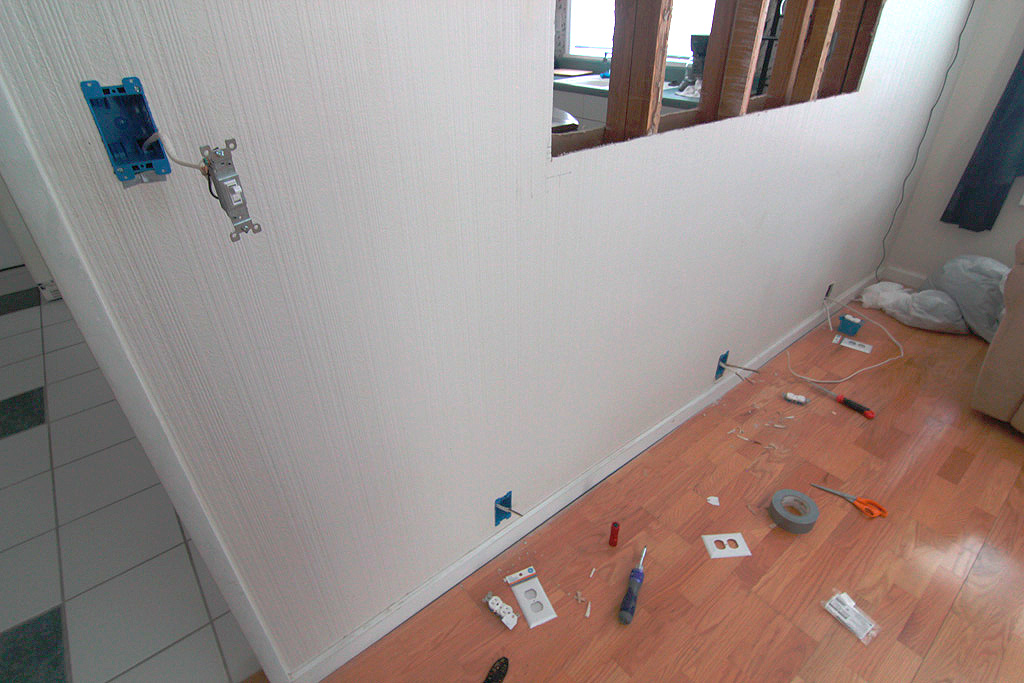
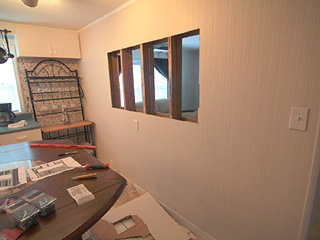
| More holes to locate studs which dictate the width of my window. I also marked out the top and bottom and where I wanted to add a light switch. |
|
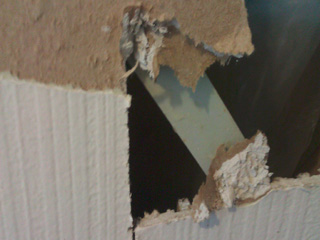 |
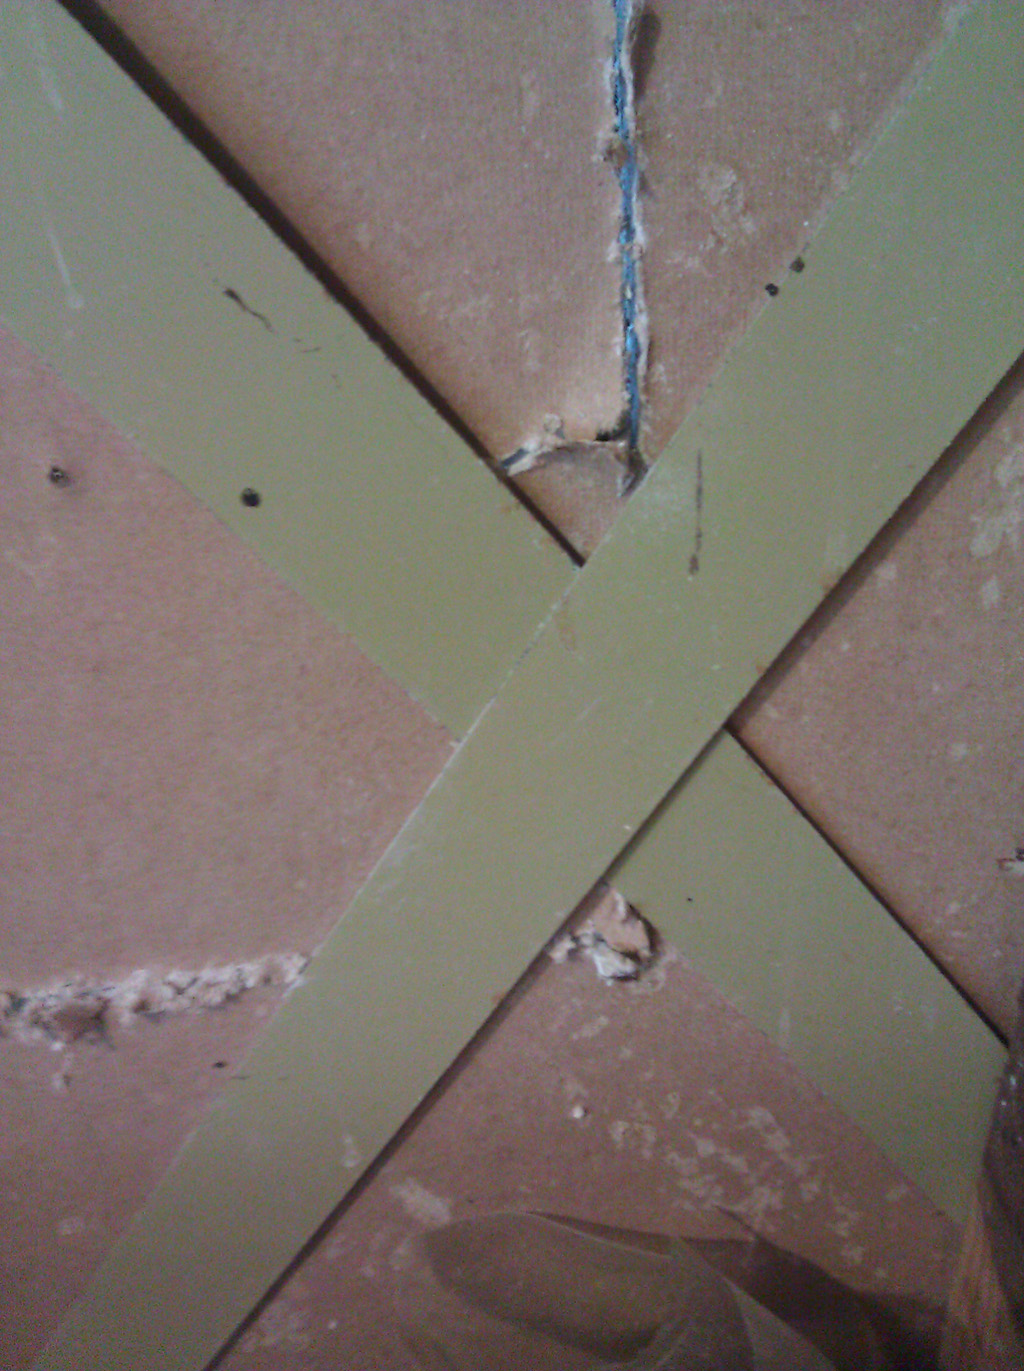
| Another bonus is the addition of these metal strips that criss cross the drywall. |
|
 |
| More holes had to be made on both sides of the wall to locate, access and cut these. |
|
 |
| Little by little I removed the drywall, plastic and metal. |
|
 |
| Which left six wooden studs. |
|
 |
| Wide shot of the demolition. |
|
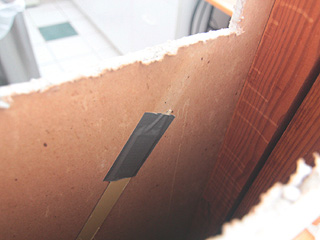 |
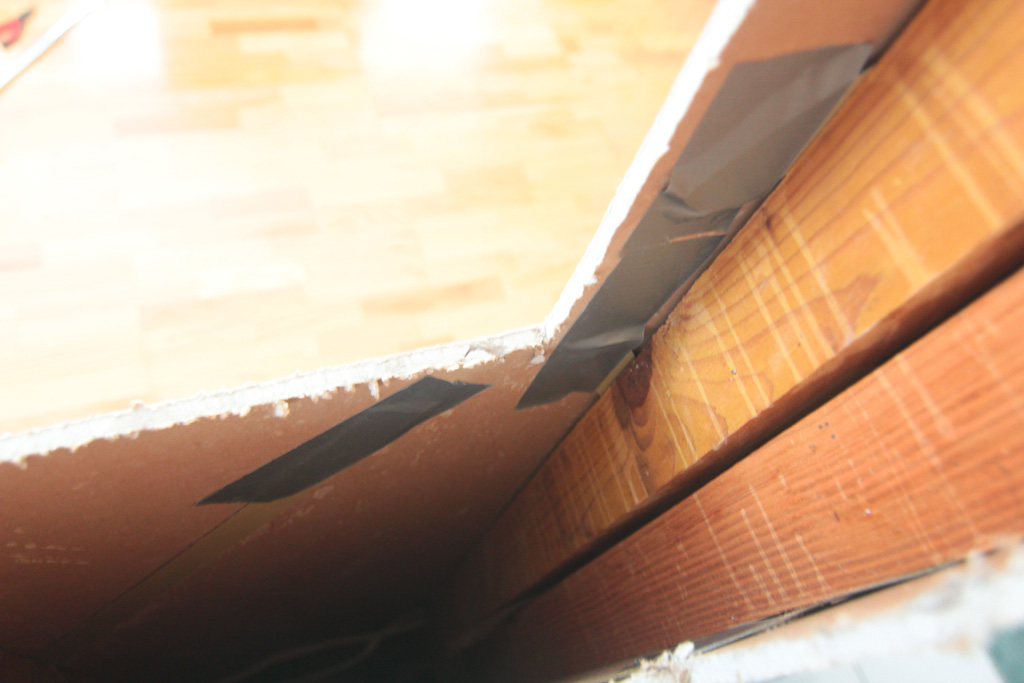
| To prevent the metal strips from slicing my hand off or otherwise getting in the way I broke out my good friend duct tape. |
|
 |
| The window structure will be filling these spaces so it's important that nothing gets in the way. |
|
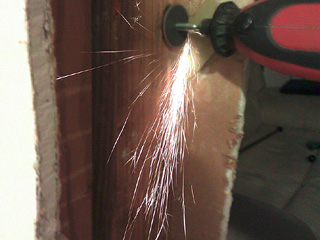 |
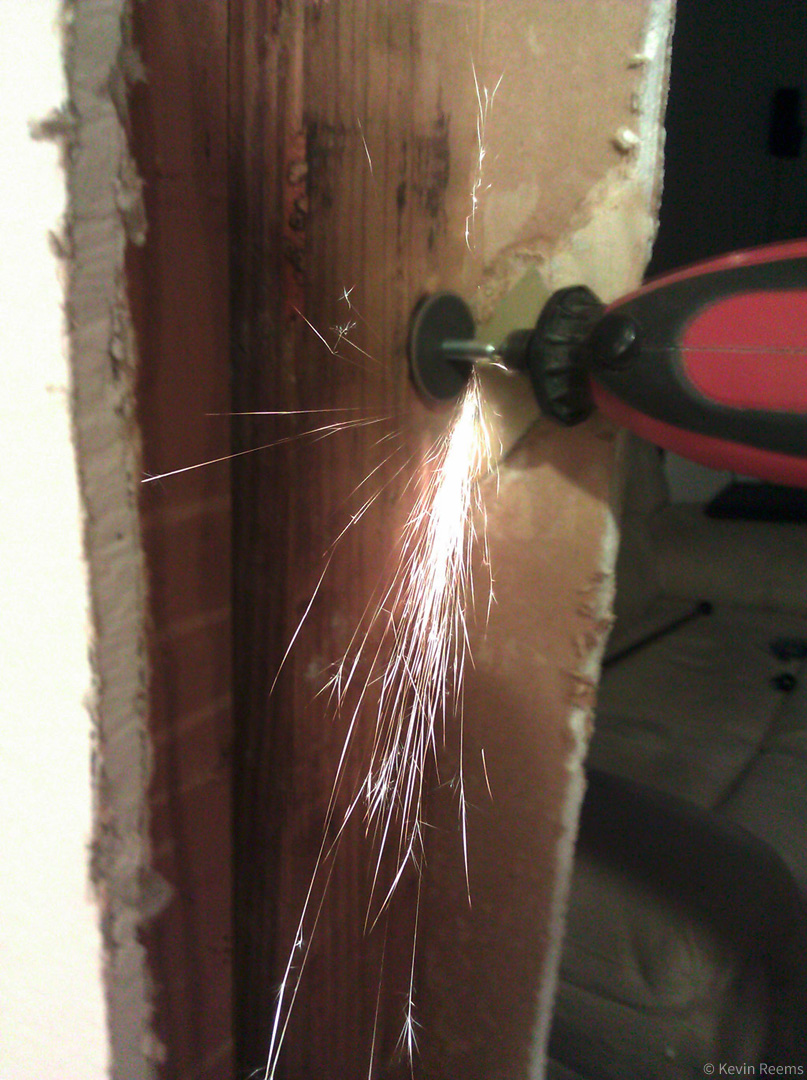
| One of the strips refused to submit to the duct tape (hard to imagine) so I introduced it to my dremel. |
|
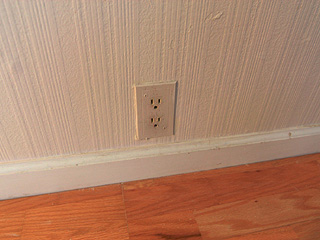 |
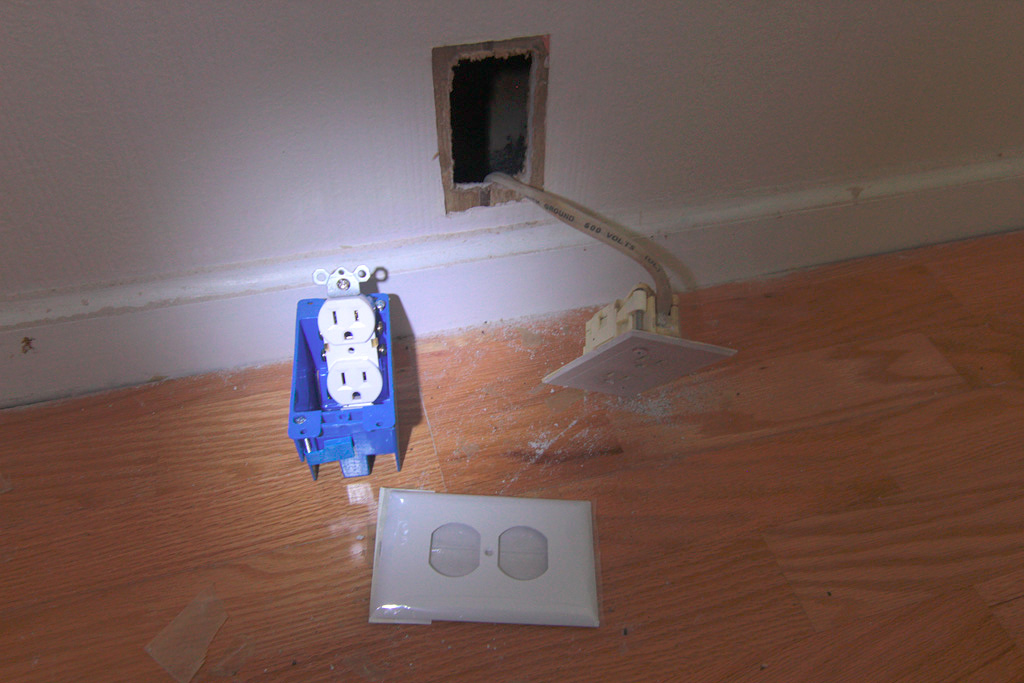
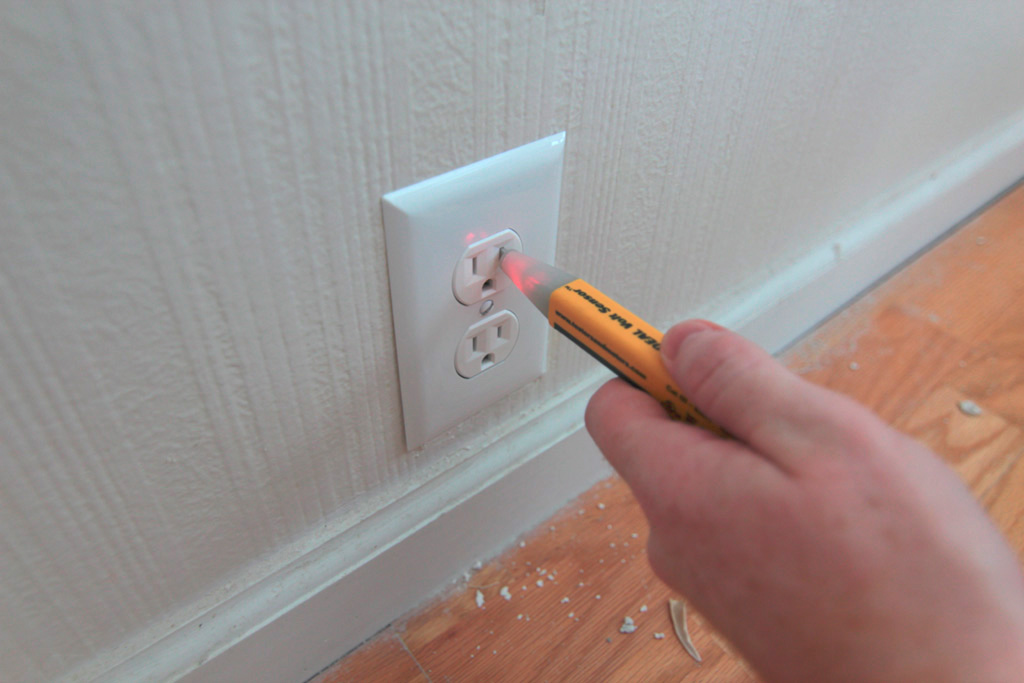
| This old relic has seen it's last plug. Once removed, 4 new electrical boxes will be added. |
|
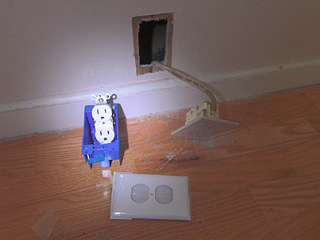 |
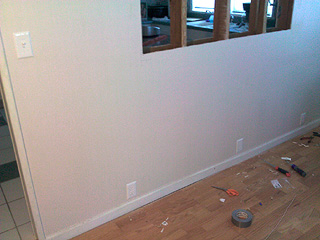
| Here's the modern replacement. This is on the living room side of the wall. |
|
 |
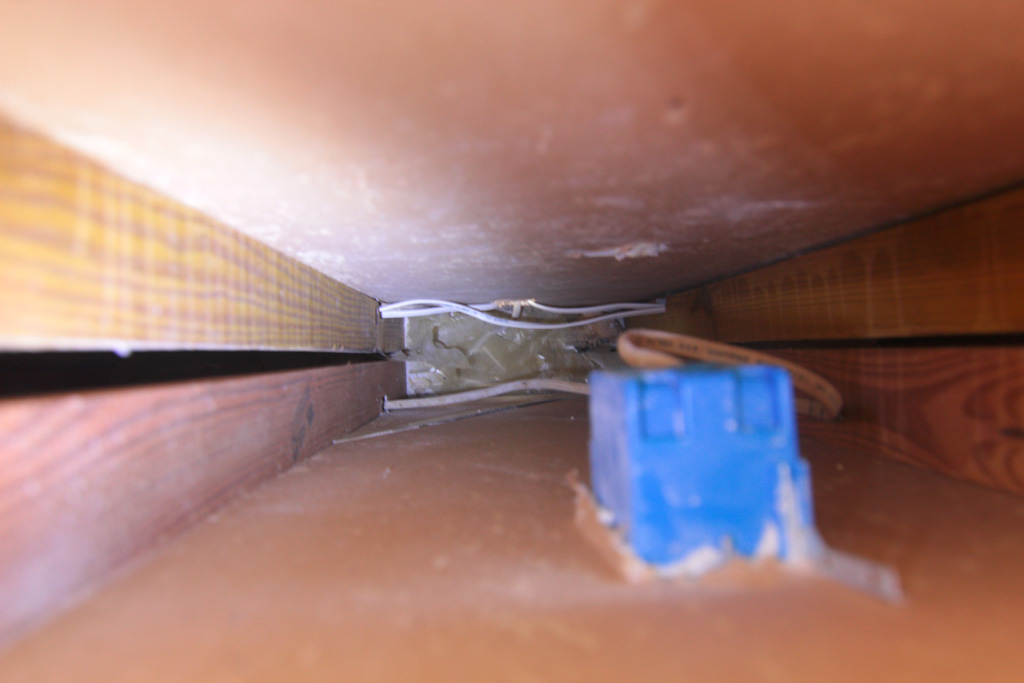
| Looking inside is a different electrical box for an outlet on the kitchen side. Beyond that you can see the new wiring. The studs were already notched for electrical. |
|
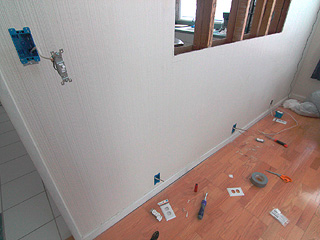 |
| Here are the 4 boxes and wiring. 1 switch and 3 AC outlets. The switch toggles the top plug on the far right outlet. |
|
 |
|
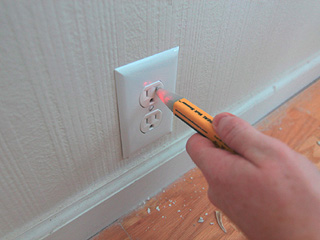 |
| With the power back on I tested each connection and the switch and found no issues. |
|
 |
| To frame the window I needed a consistent 5 1/2 inch width. Due to warping and/or poor construction the studs were shorter then this in some places. |
|
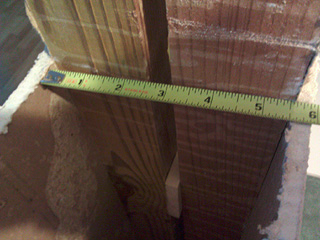 |
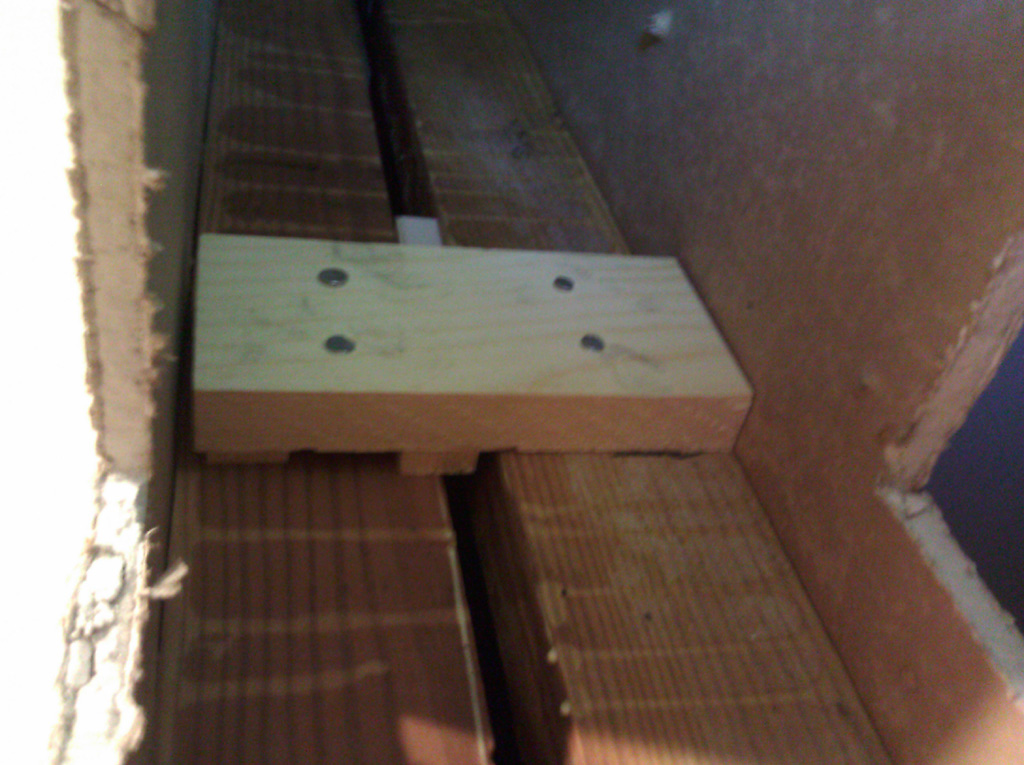
| I used 1/2 inch boards to space these into the correct position. |
|
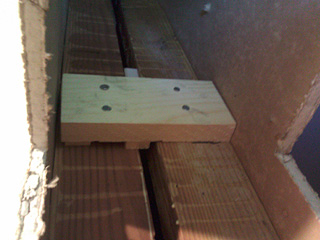 |
| The two frames were then joined together creating a significantly stronger structure. |
|
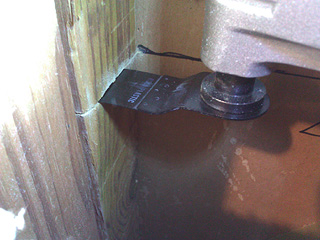 |
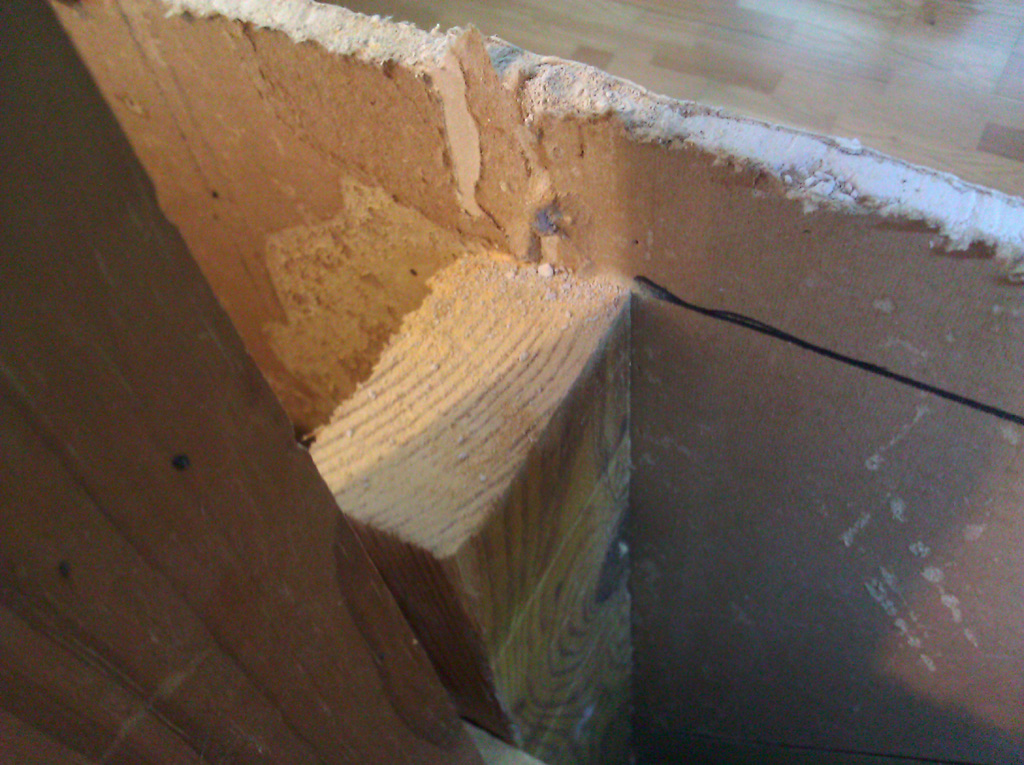
| Using an oscillating power saw I cut the studs 1 1/2 inches above and below the window opening. |
|
 |
| This tool was perfect for these tight spaces. |
|
 |
| Here's the newly framed window. |
|
 |
|
 |
|
 |
| As you can see here I erred on the side of caution regarding how much drywall I left. |
|
 |
| With the framing complete it was now safe to remove this excess. |
|
 |
| I simply cut along the wood to remove the drywall along the edge. |
|
 |
| Here you can see the clean edge. Now it's time to make things pretty! |
|
 |
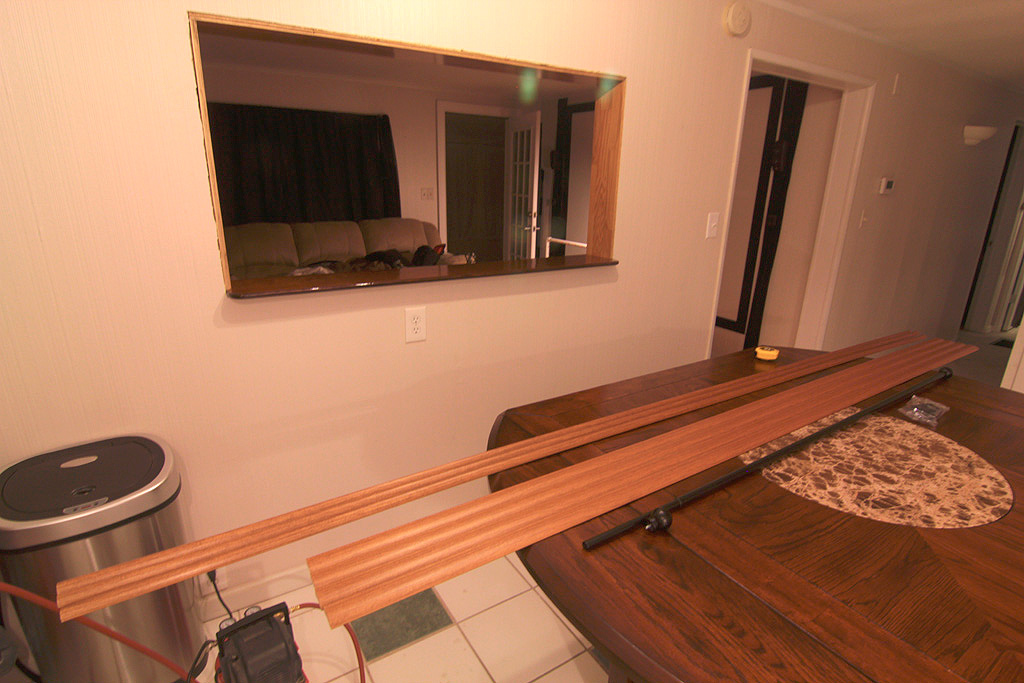
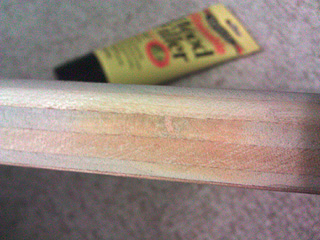
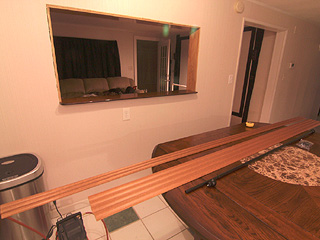
| For the sides and top I actually used hardwood floor boards. These were the same as used for the living room flooring. |
|
 |
| These have a nice finish and perfectly match the room's existing color scheme. |
|
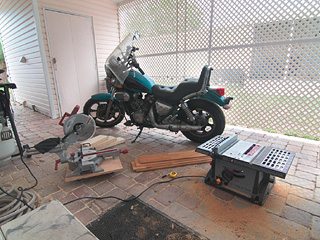 |
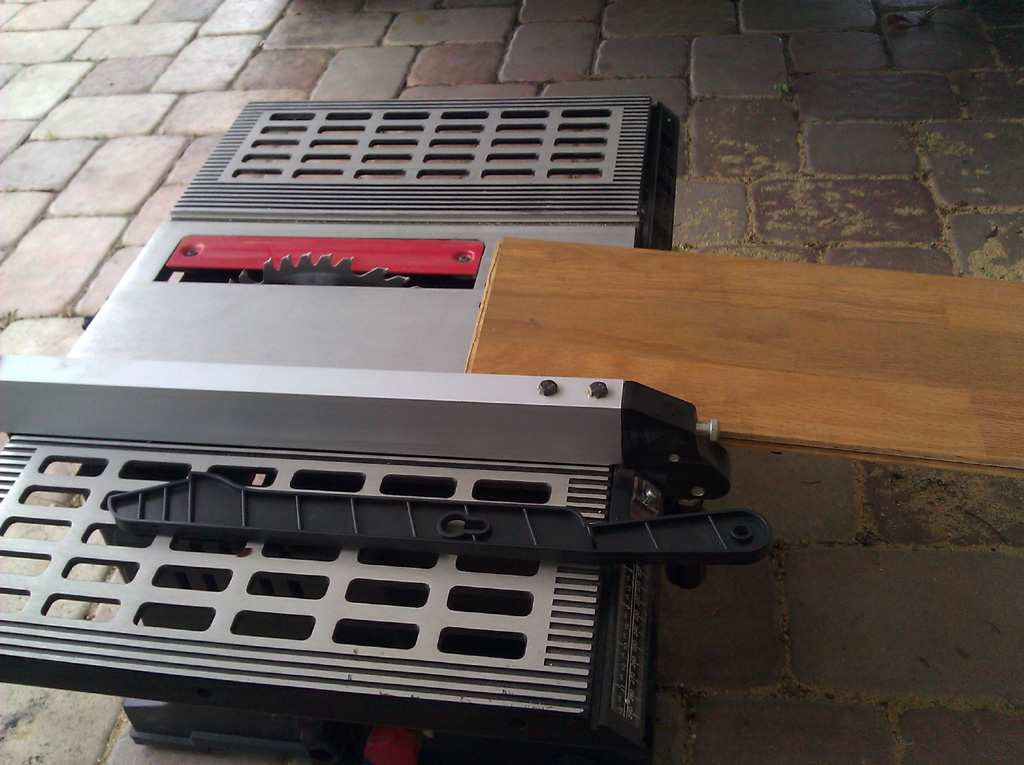
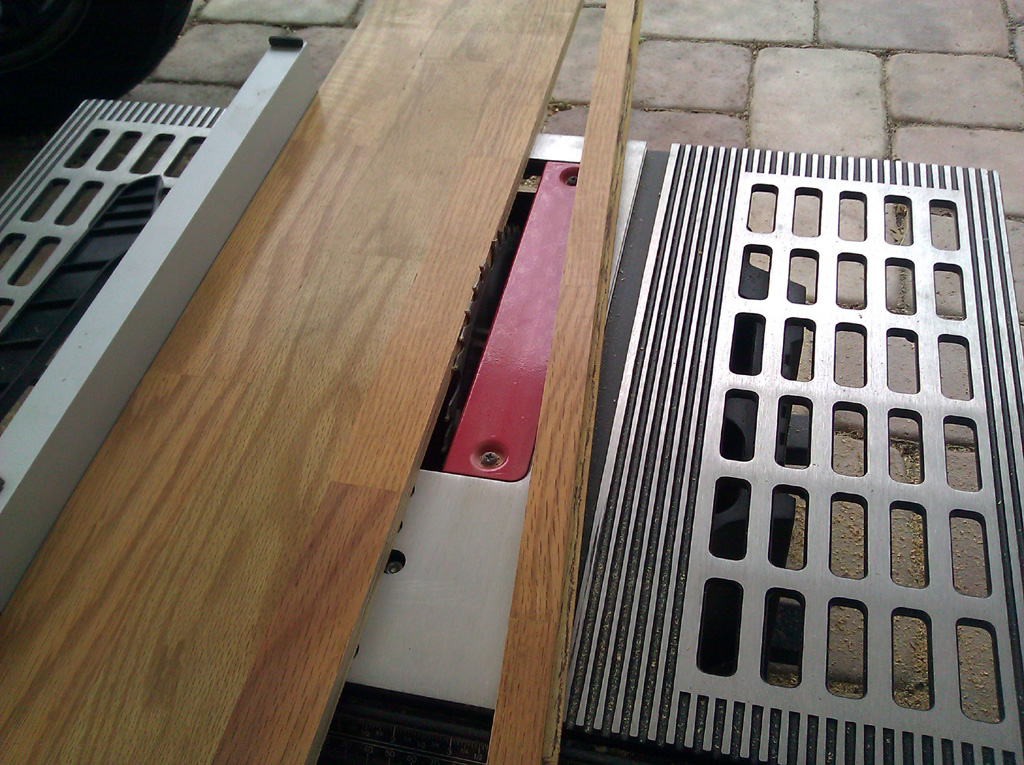
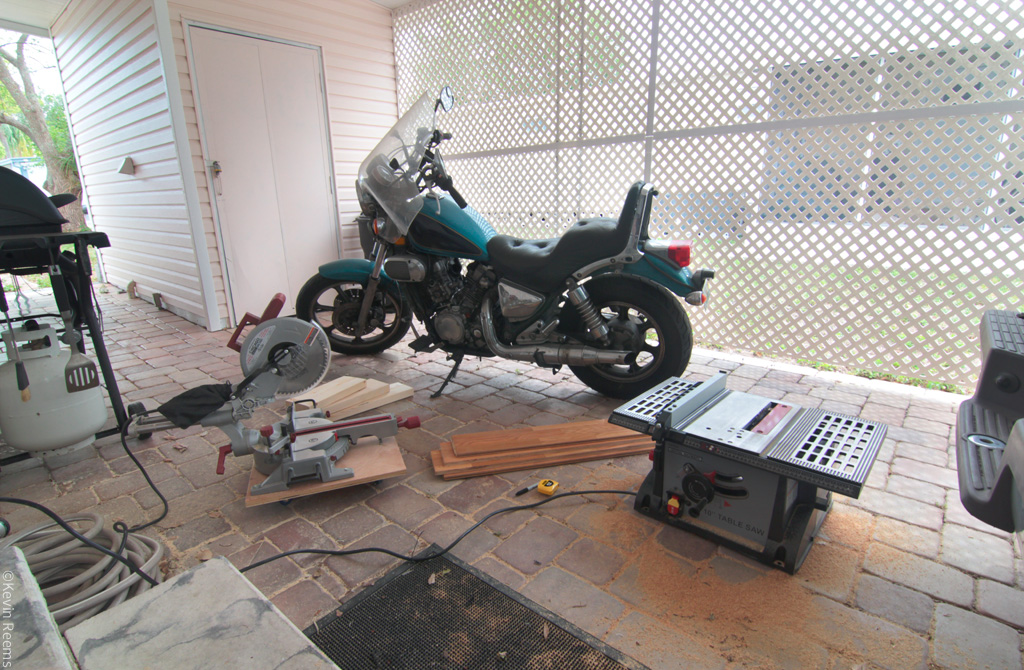
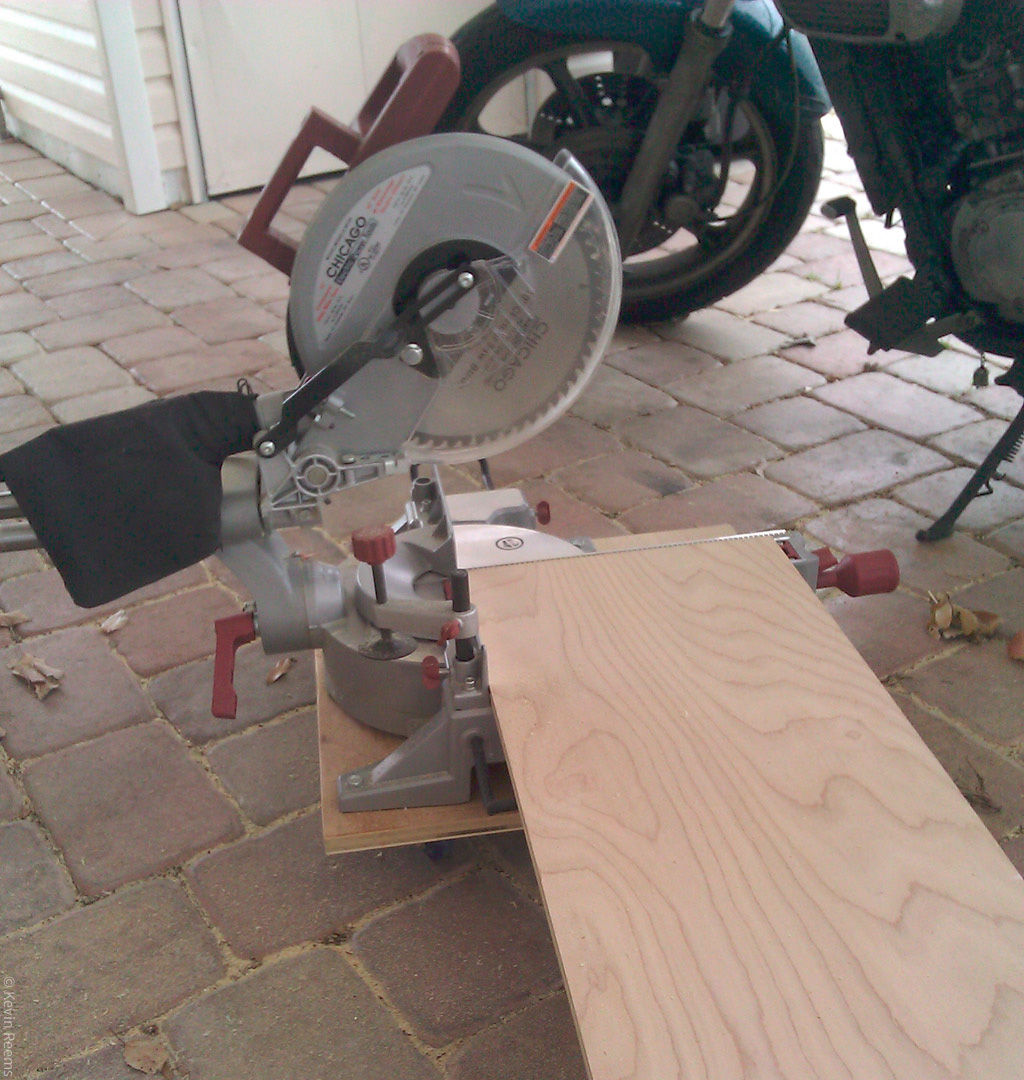
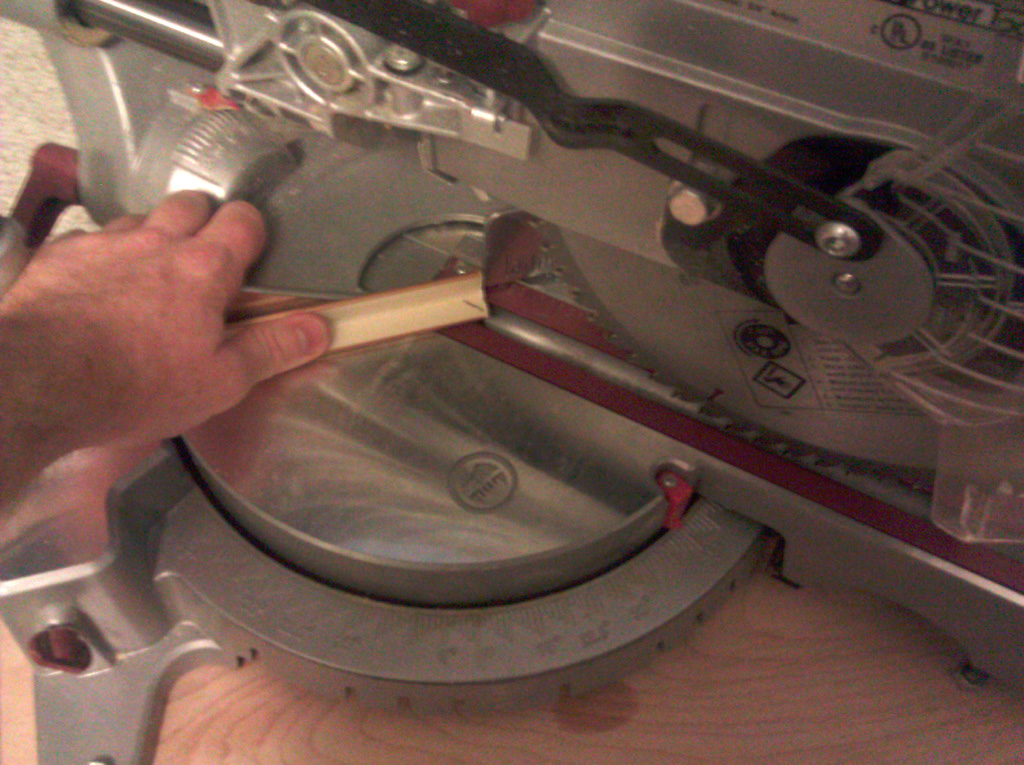
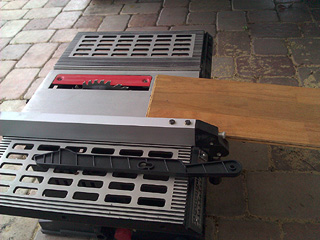
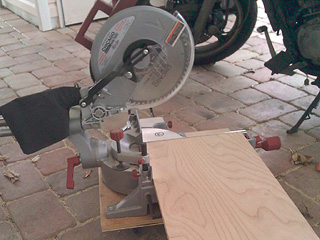
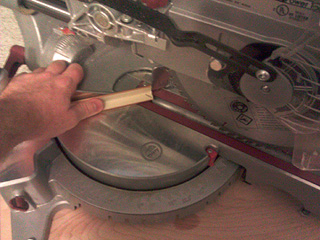
| I used a miter and table saw for a lot of this project's cutting. |
|
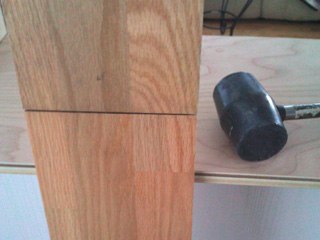 |
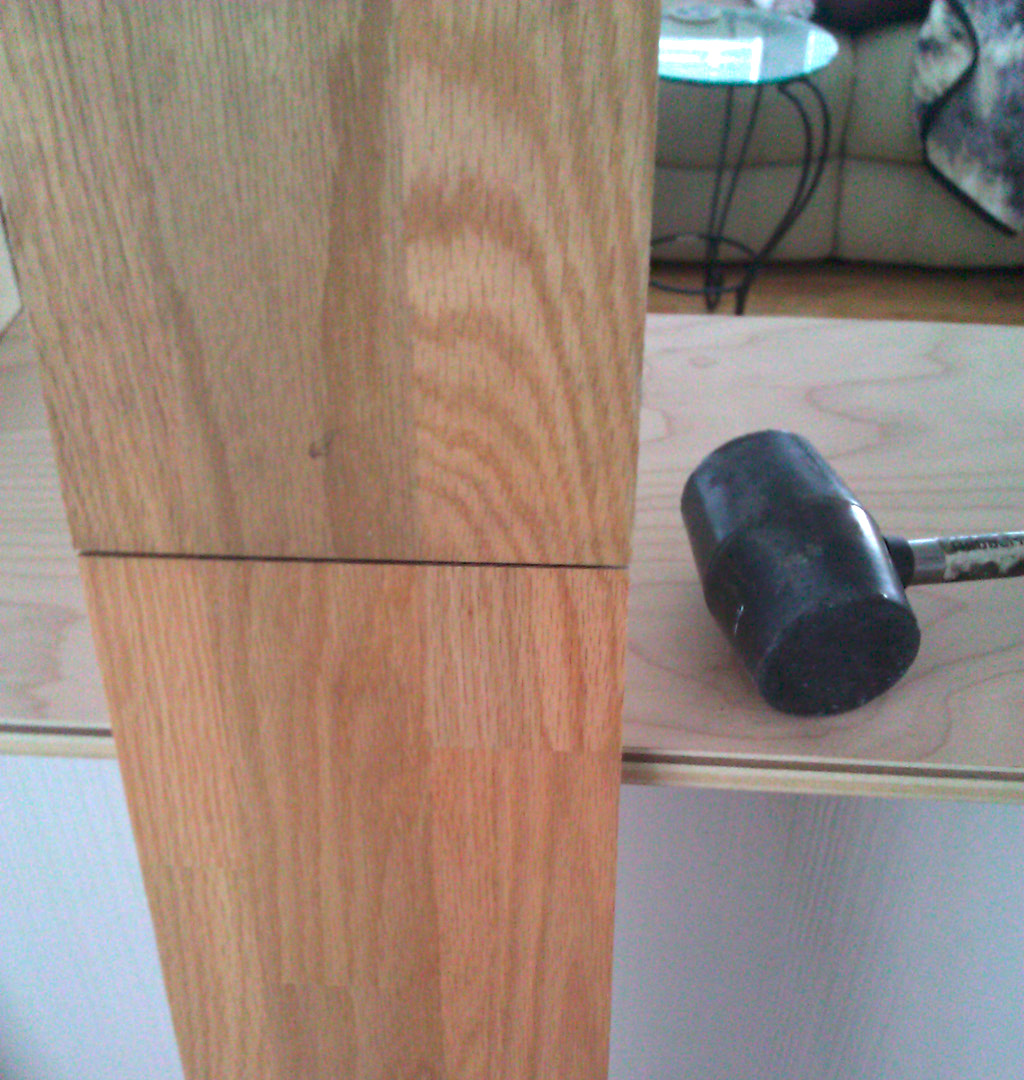
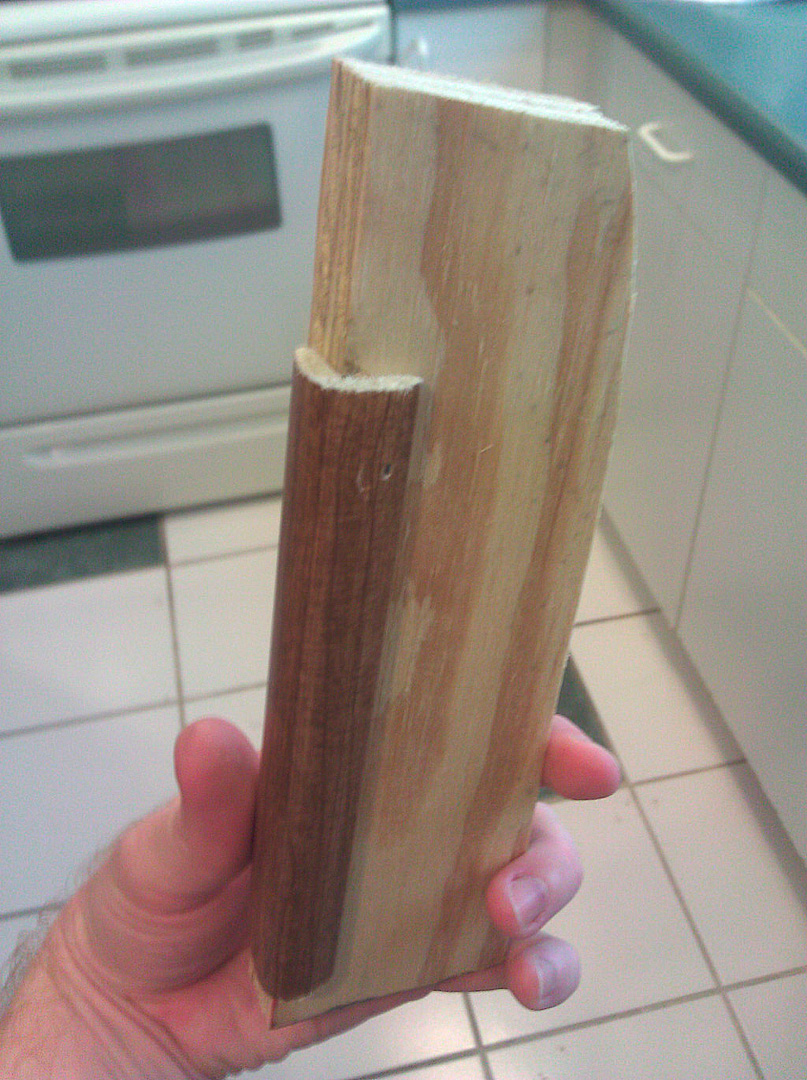
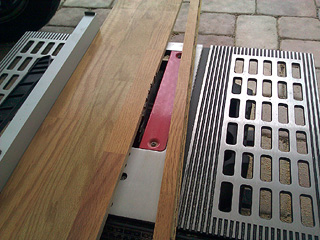
| The top piece needed to be longer then the boards I had. Fortunately these boards are designed to be joined together. |
|
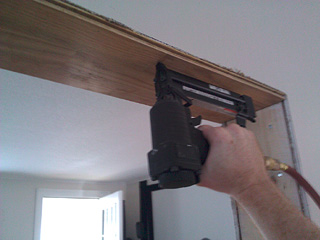 |
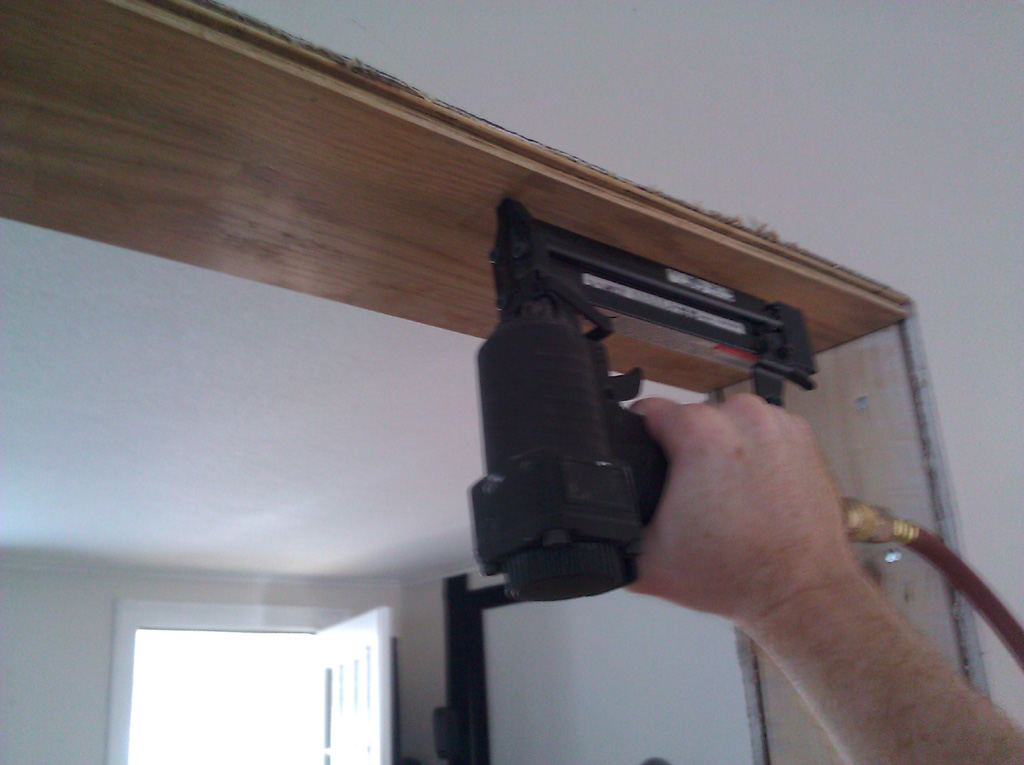
| I used wood glue and a brad gun to mount the decorative piece to the header. |
|
 |
| The decorative sides will wedge between that top piece and the shelf. So I need to make the shelf before mounting those. |
|
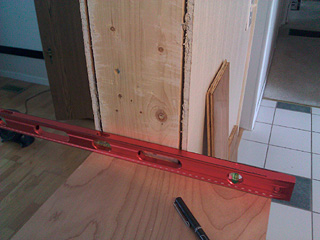 |
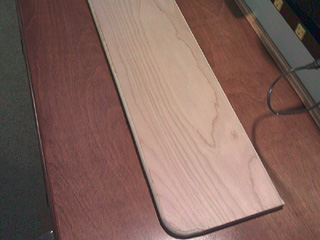
| Here's the shelf cut to fit the width of the window. |
|
 |
| And here's the sides cut to fit the height. At this point the shelf and sides are not yet mounted. |
|
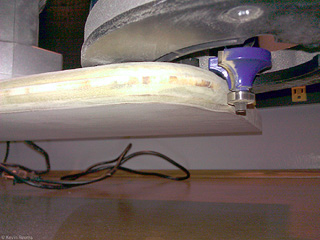 |
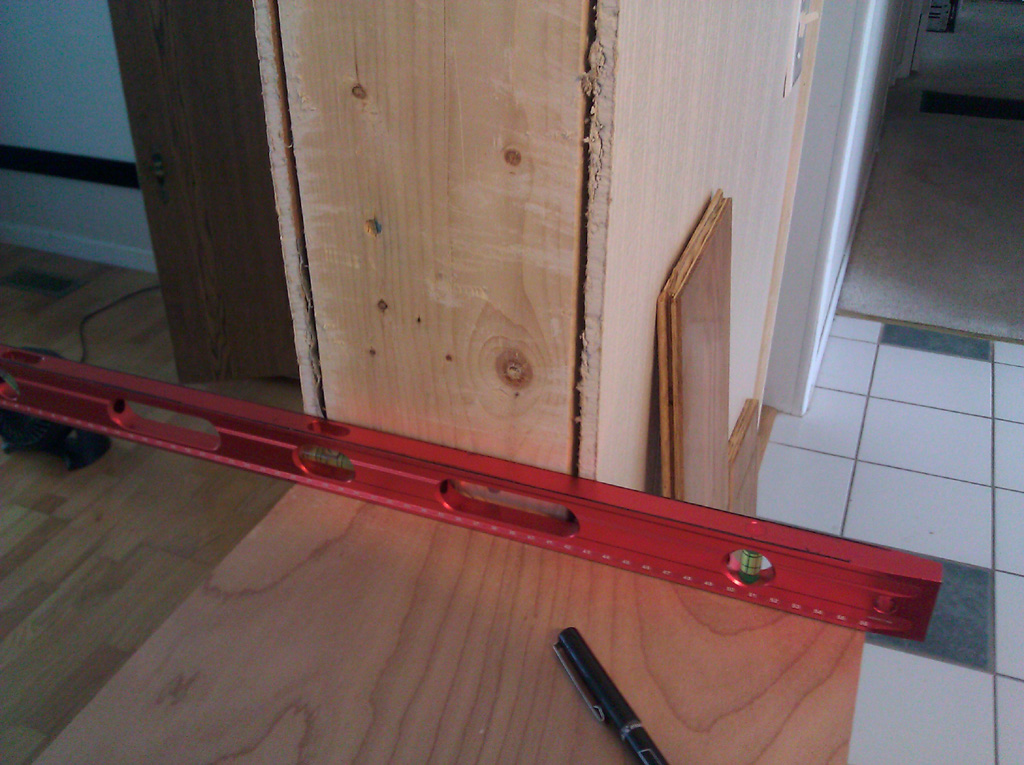
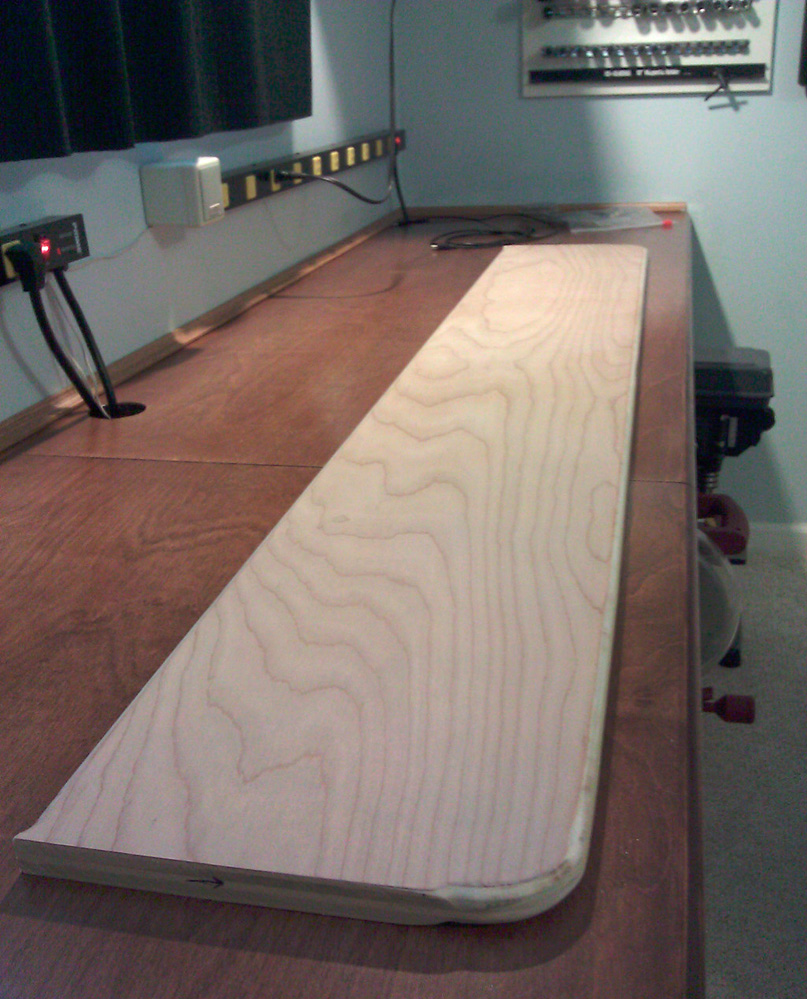
| With the sizes correct I shaped the corners with a jig saw and rounded the edges with a router. |
|
 |
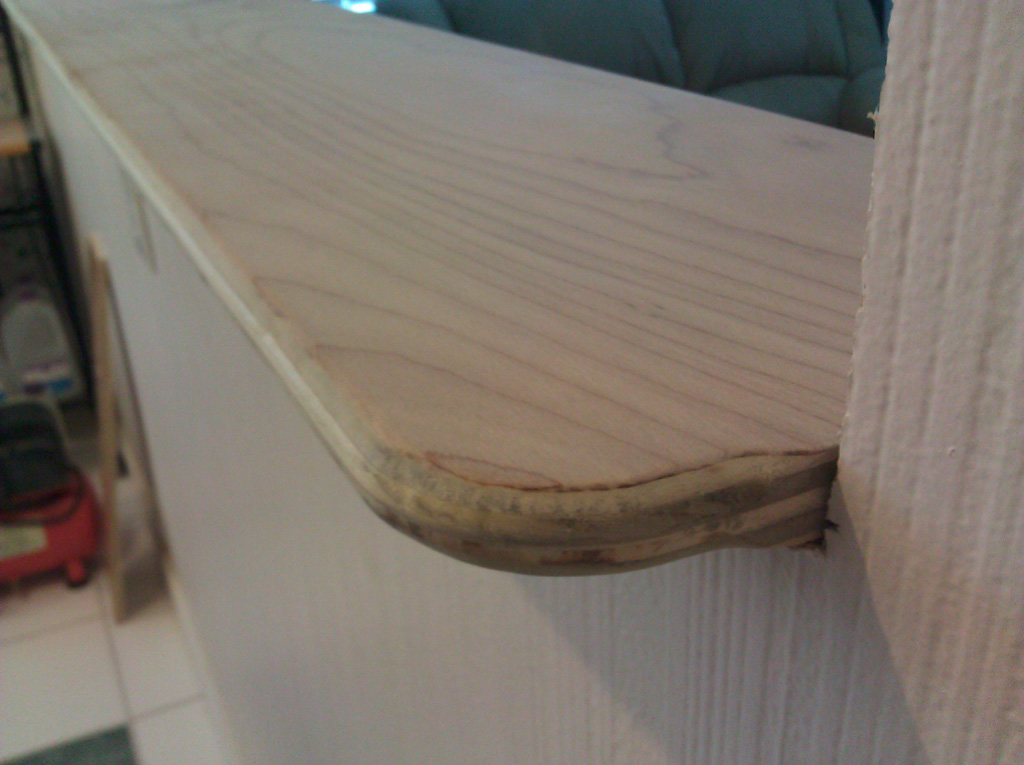
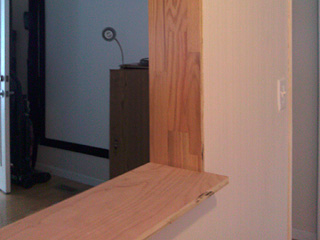
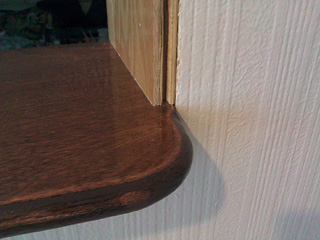
| The shelf will hang out of the kitchen side while remaining flush with the wall on the living room side. |
|
 |
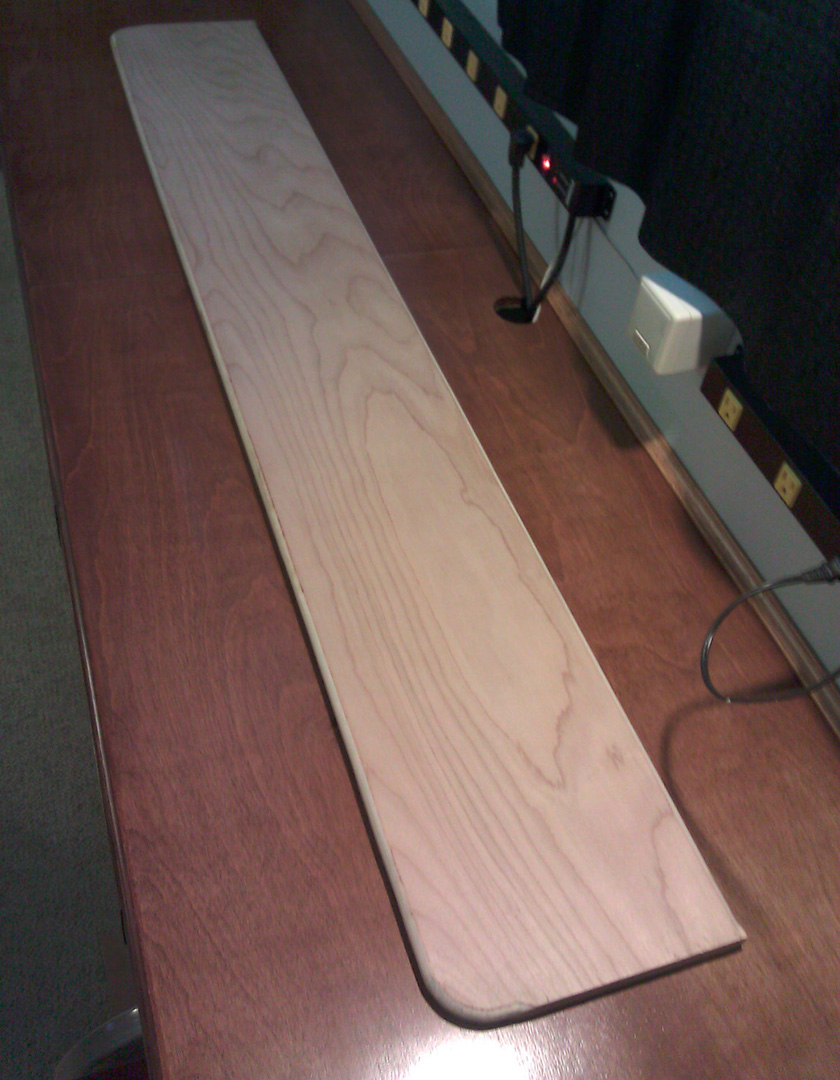
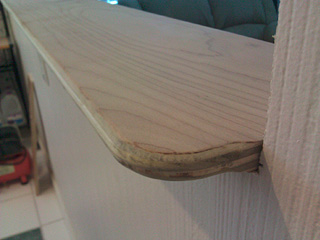
| Notice the corners of the living room side are not routed. These will be hidden by trim and make it easier to line everything up. |
|
 |
| Here's the unfinished shelf being tested again in the window. |
|
 |
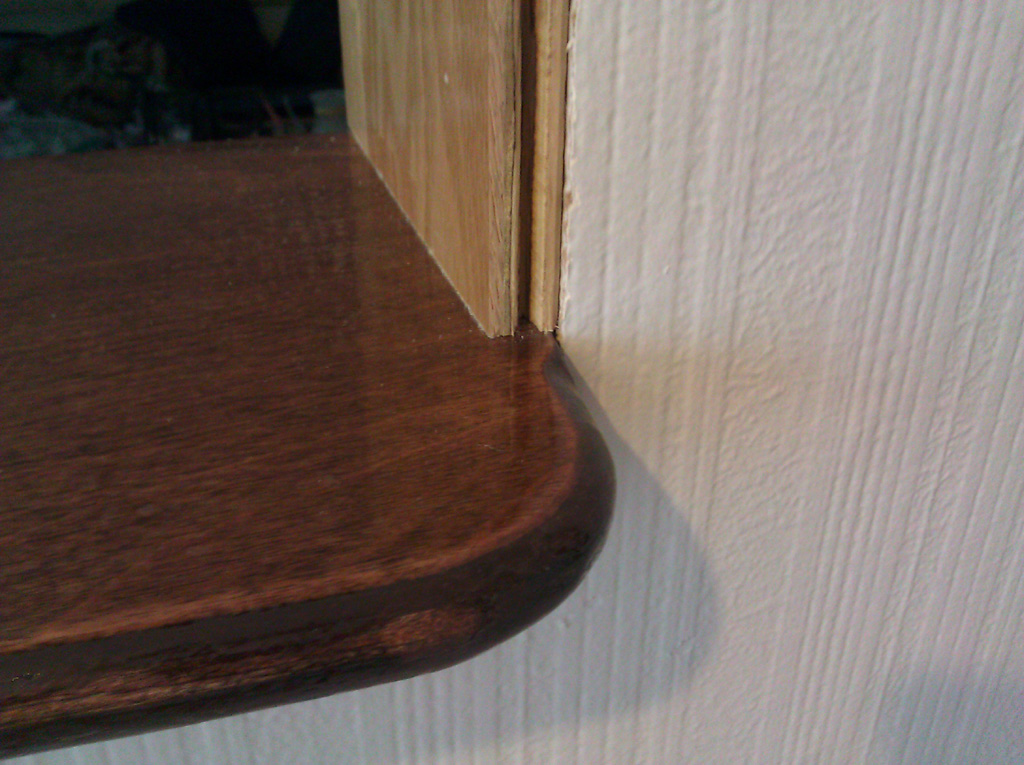
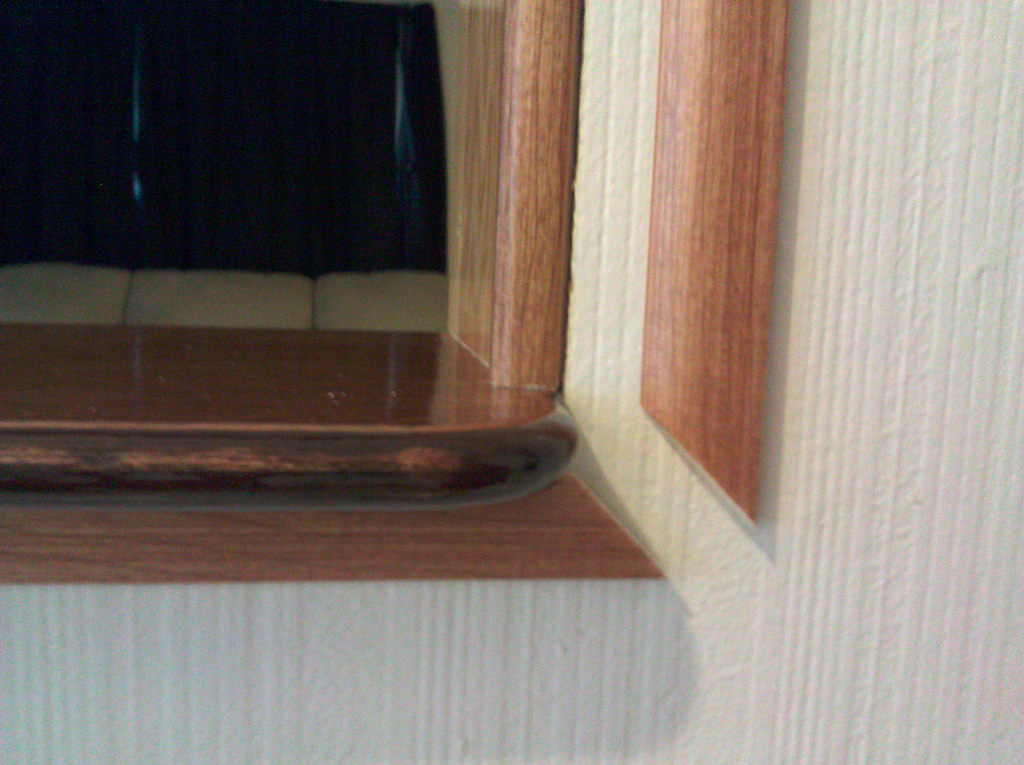
| This is a closeup of how those un-routed corners line up. |
|
 |
|
 |
|
 |
| Next I used wood filler on a few imperfections. |
|
 |
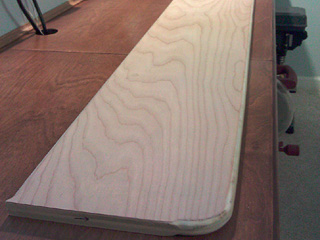
| I then sanded the entire shelf. |
|
 |
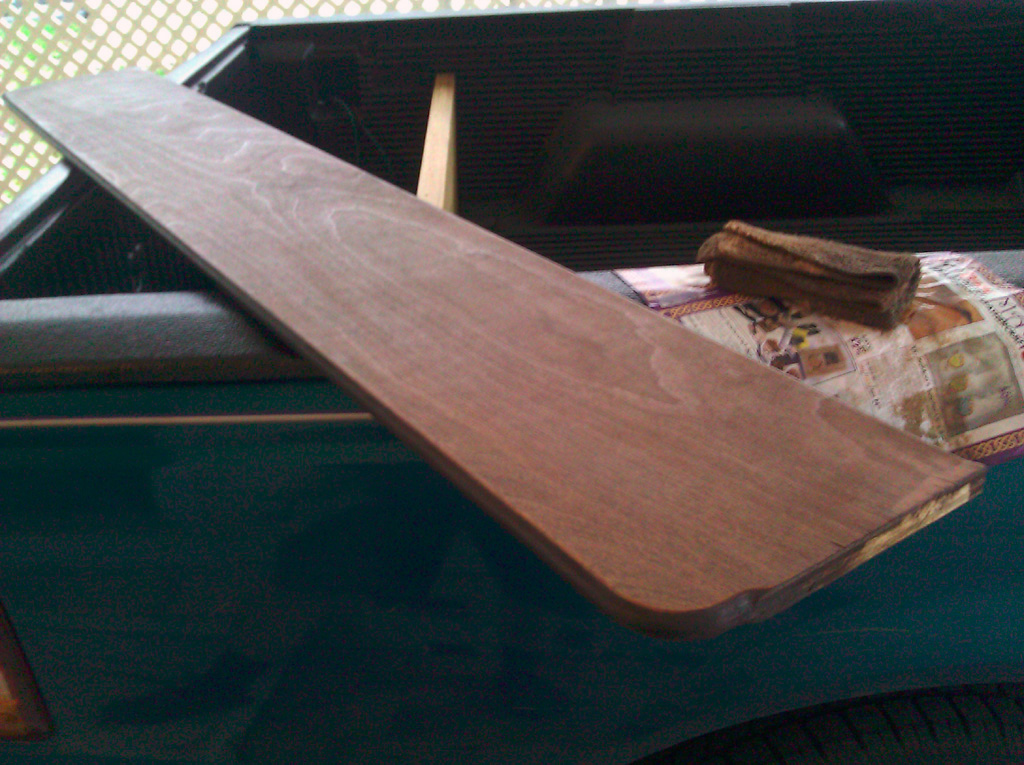
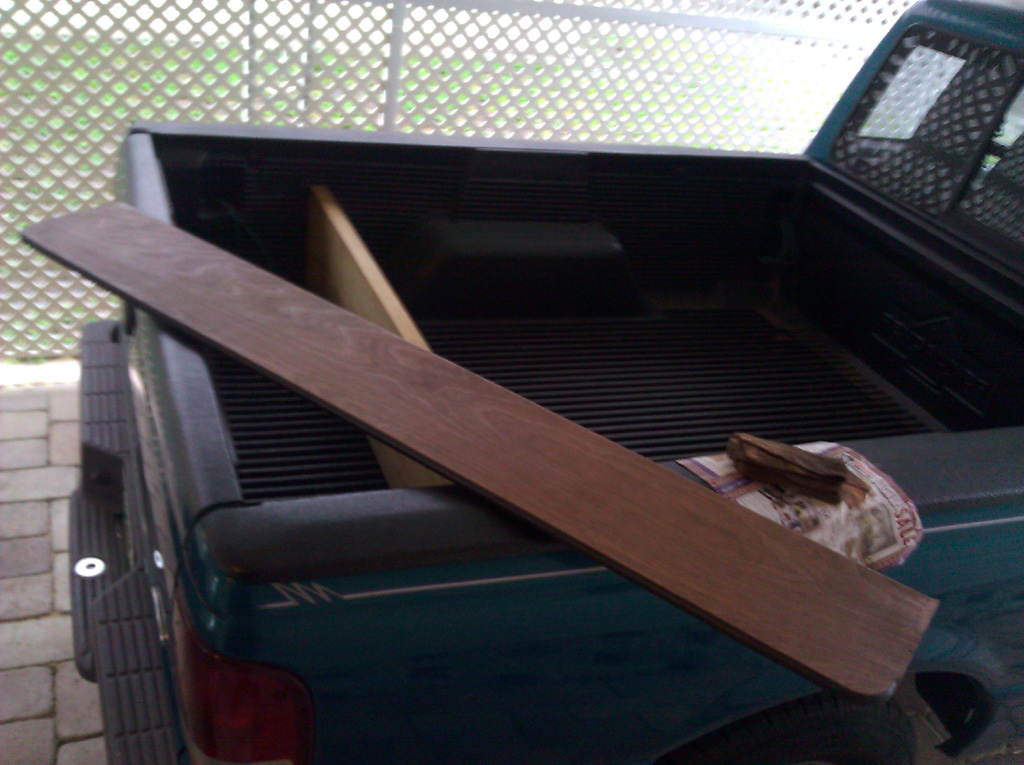
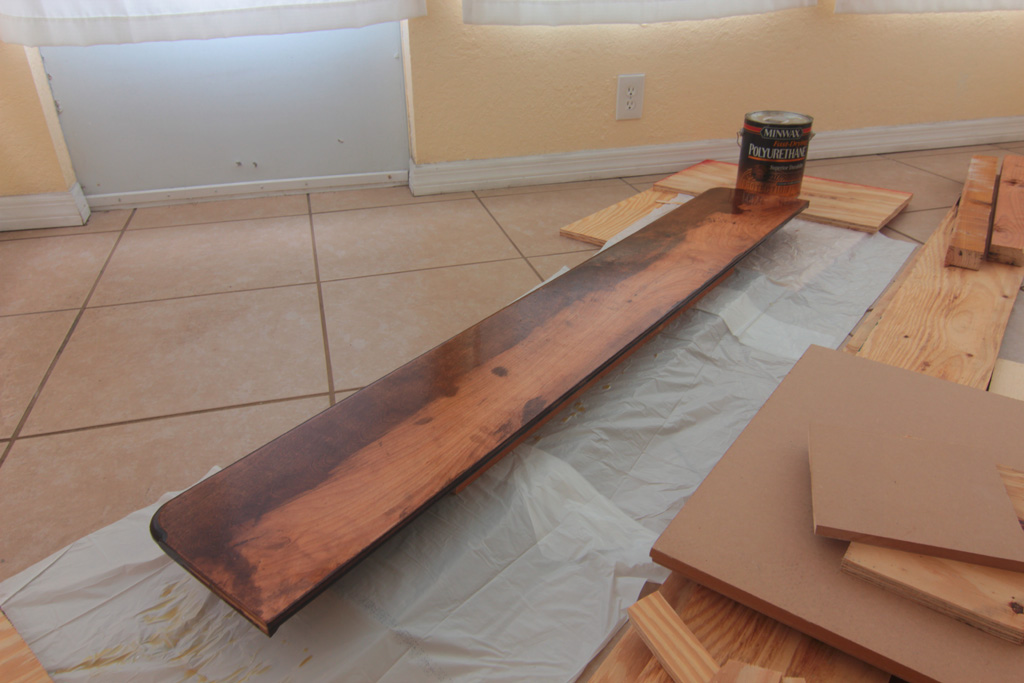
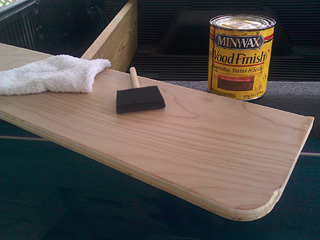
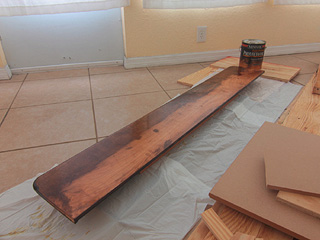
| Once sanded I stained the wood everywhere that would be visible. |
|
 |
| There was no concern for my truck as stain does not penetrate smooth surfaces. The mess was simply wiped off. |
|
 |
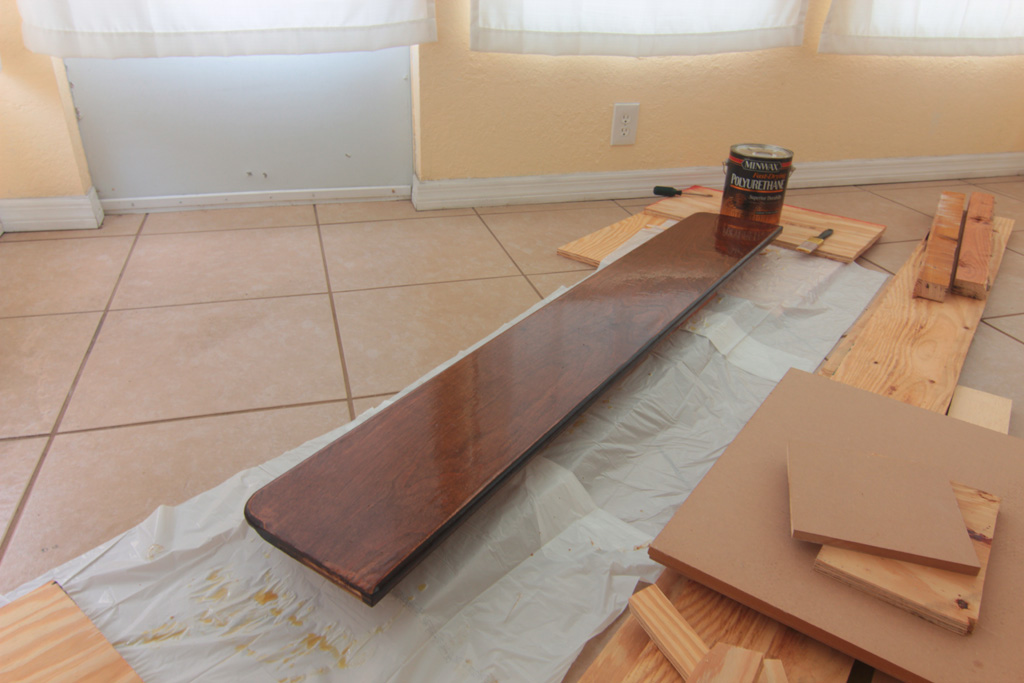
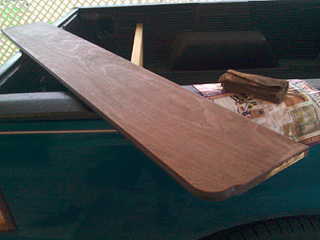
| After the stain dried the shelf was sanded again. I then applied polyurethane to the bottom. |
|
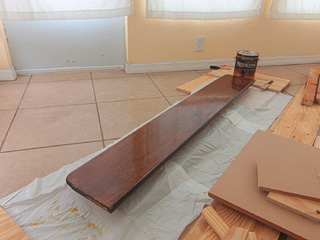 |
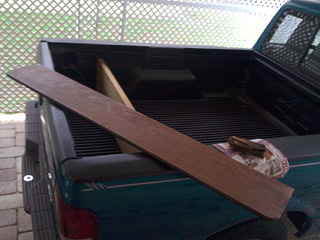
| 24 hours later I did the same for the top. Unlike with the stain I covered the entire surface to seal the wood from moisture. |
|
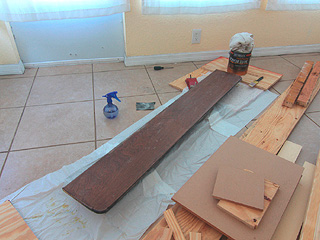 |
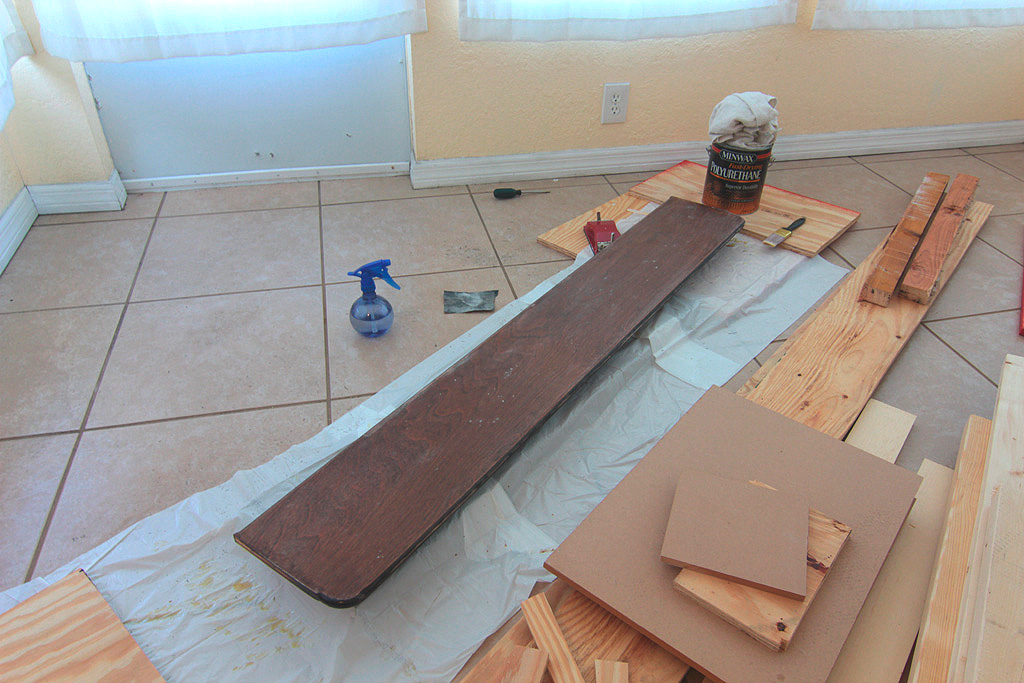
| 24 hours later I sanded the entire shelf again. |
|
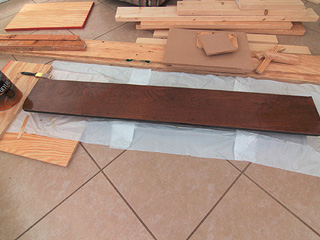 |
| 24 hours later.. well you get the idea. Before being mounted the visible parts of the shelf had three coats of polyurethane. |
|
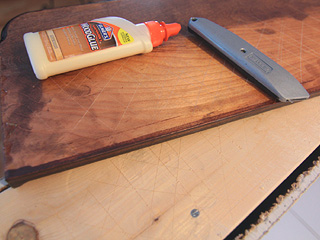 |
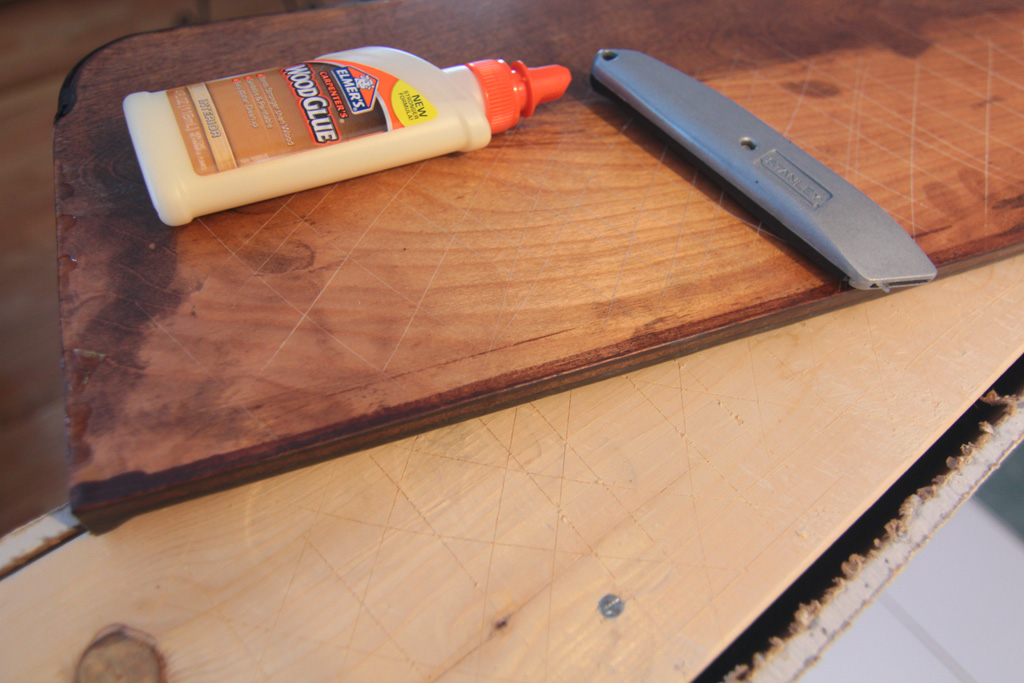
| It may not have been necessary but I cut many lines into the wood to give the glue something to grab onto. |
|
 |
| I mounted the shelf using wood glue and no nails or brads. It is also secured by the side pieces. |
|
 |
| The sides were mounted with a brad gun much like the top. |
|
 |
| Here you can see how these pieces work together to create a sturdy structure. |
|
 |
| Before adding the trim I sanded and applied thin coats of poly to the shelf two more times. |
|
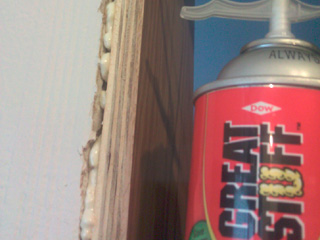 |
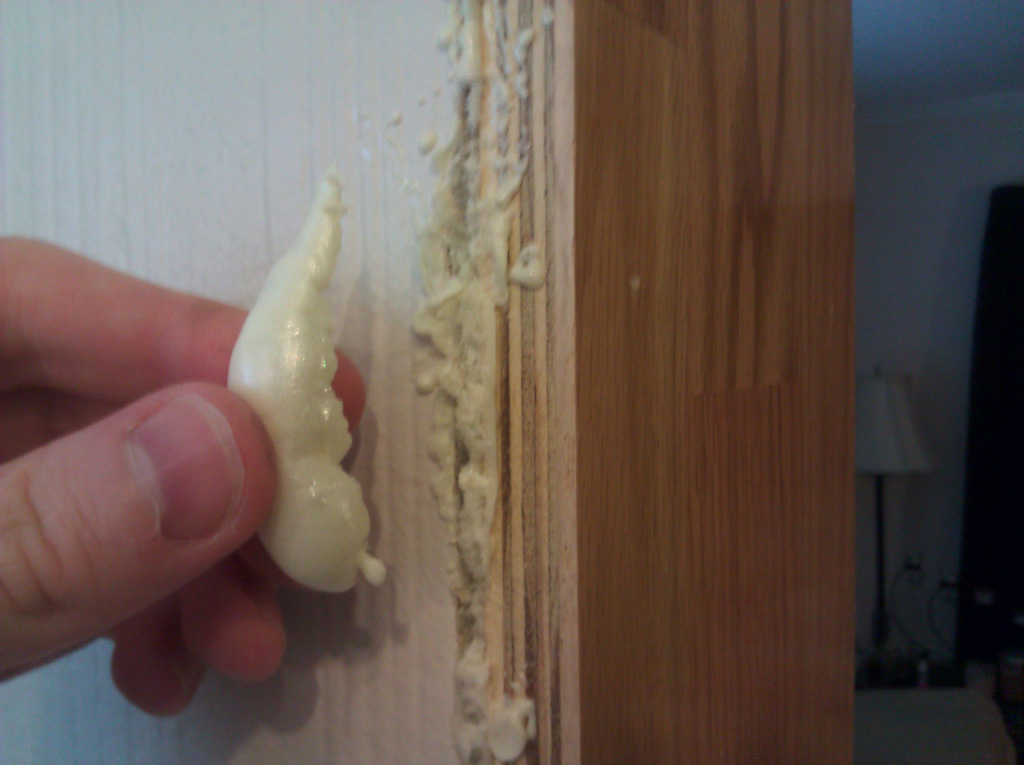
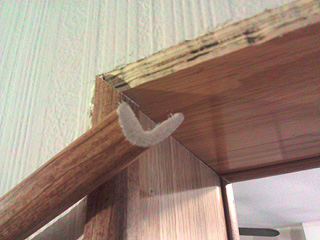
| To minimize air leaks (there was noticeable heat coming out of the wall during this project) I filled the gaps with Great Stuff. |
|
 |
| This foam expands and cures very fast. The excess was then cut away. |
|
 |
| Then it was time for the trim. I actually made two frames. One using corner trim and another with flat trim. |
|
 |
| Before doing anything like this I like to test my methods. I used the brad gun to secure two pieces of scrap together. Nothing split so I continued. |
|
 |
| This is the corner trim being put in place. |
|
 |
| Each corner was cut at a 45 degree angle. |
|
 |
| These are actually made of plastic. Wood trim would have been better but this stuff saves time and money and still looks pretty good. |
|
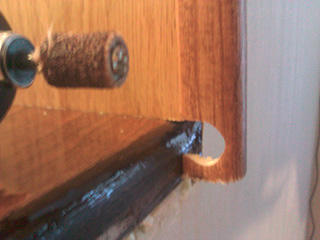 |
| Because it's plastic, any grinding has to be done at low speed or it will melt. |
|
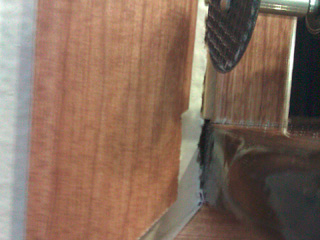 |
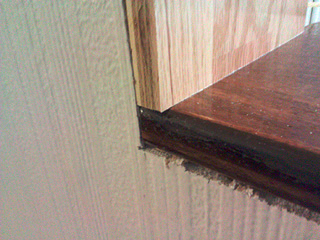
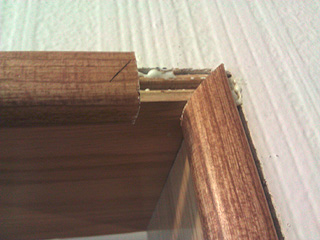
| The corner trim was a millimeter or two shy of the shelf edge. |
|
 |
| I took this off of the flat trim and everything meshed together perfectly. |
|
 |
| This side needed no special attention. |
|
 |
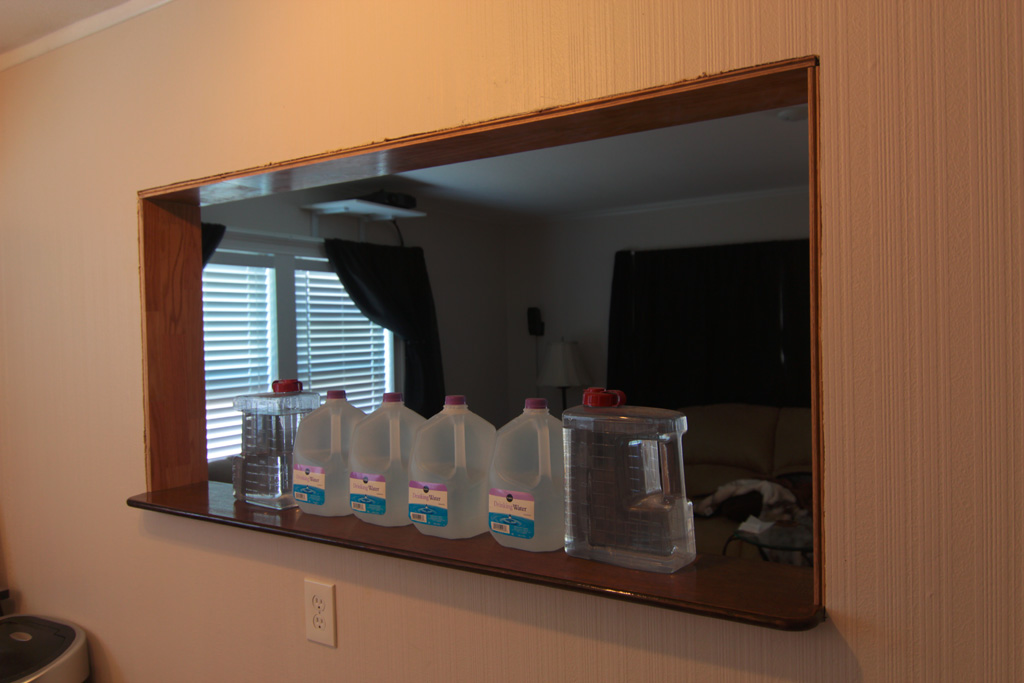
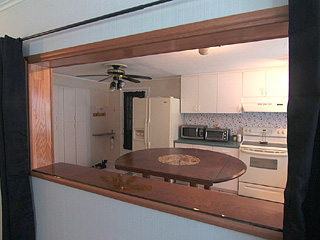
| Here's the window from the kitchen side with the completed trim. |
|
 |
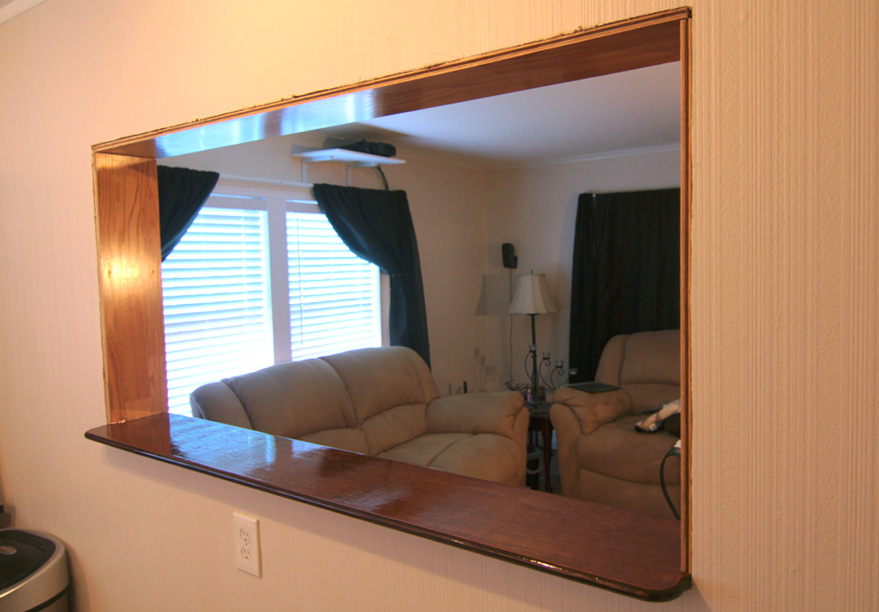
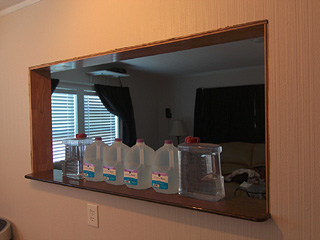
| And this is the living room side. In the background you can see bottles of Novus which I used to get that final polished finish. |
|
 |
| With the window complete I added some curtains to allow the living room to be closed off if desired. |
|
 |
|
 |
|
 |
|