 |
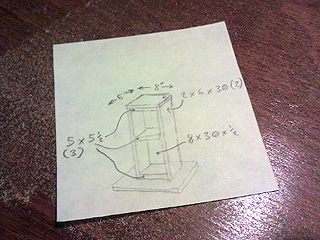
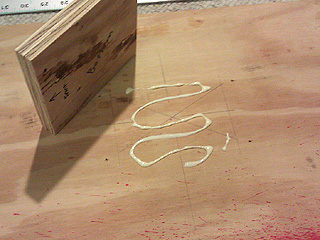
| Here's the technical blueprint on a post-it note. Note that 2x6's are actually 1.5 x 5.5 |
|
 |
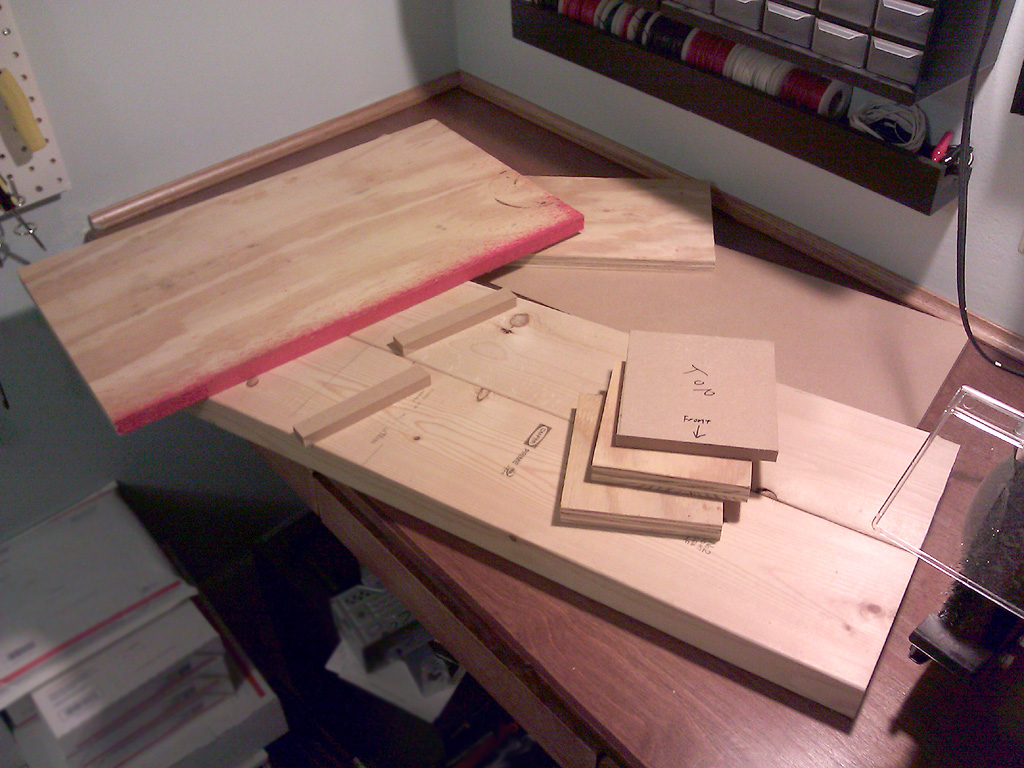
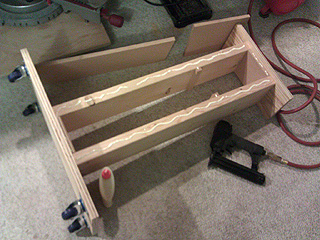
| This was all from the scrap pile. I've already cut each piece to size in this shot. |
|
 |
| Nothing has been mounted at this point. Everything lined up ok. |
|
 |
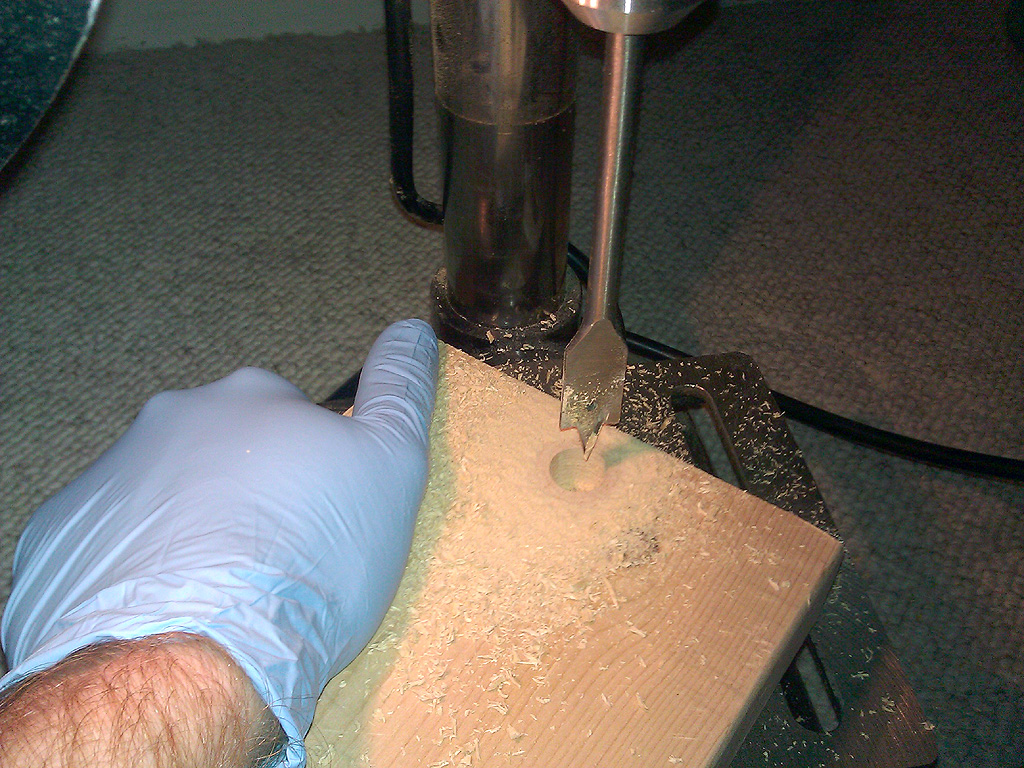
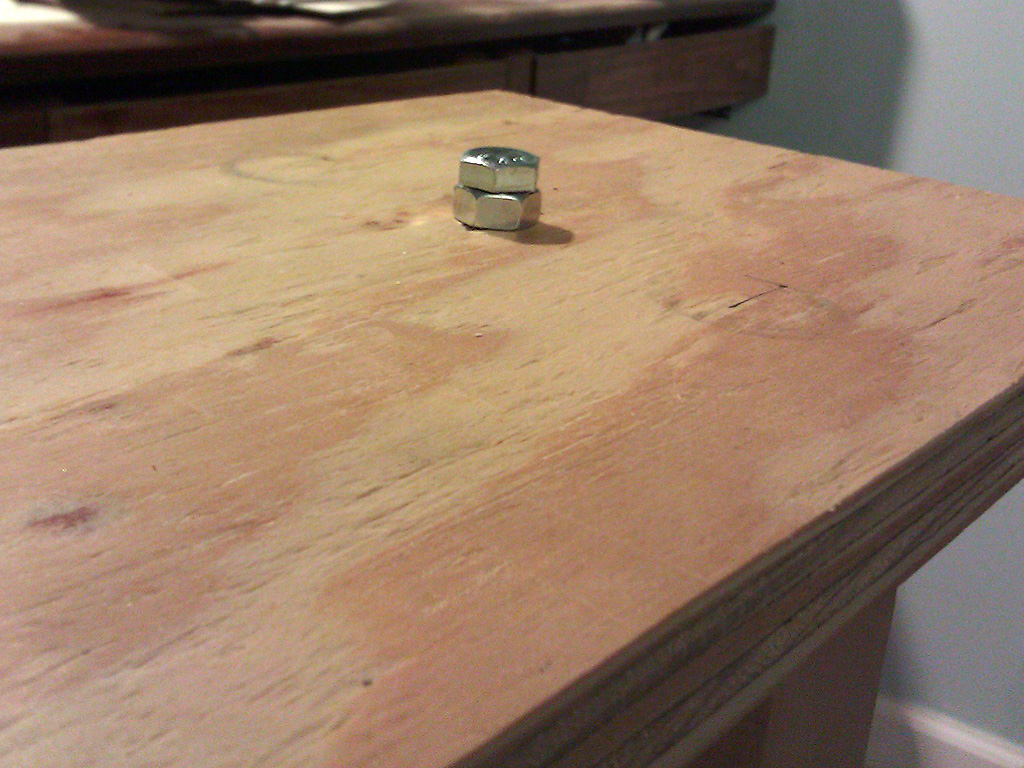
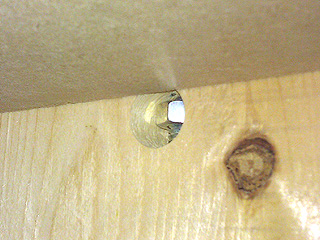
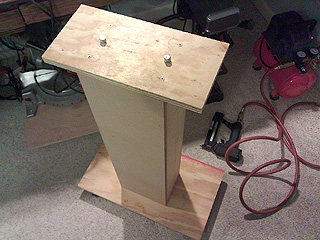
| These are the holes where the nuts go in to mount the grinder to the platform. |
|
 |
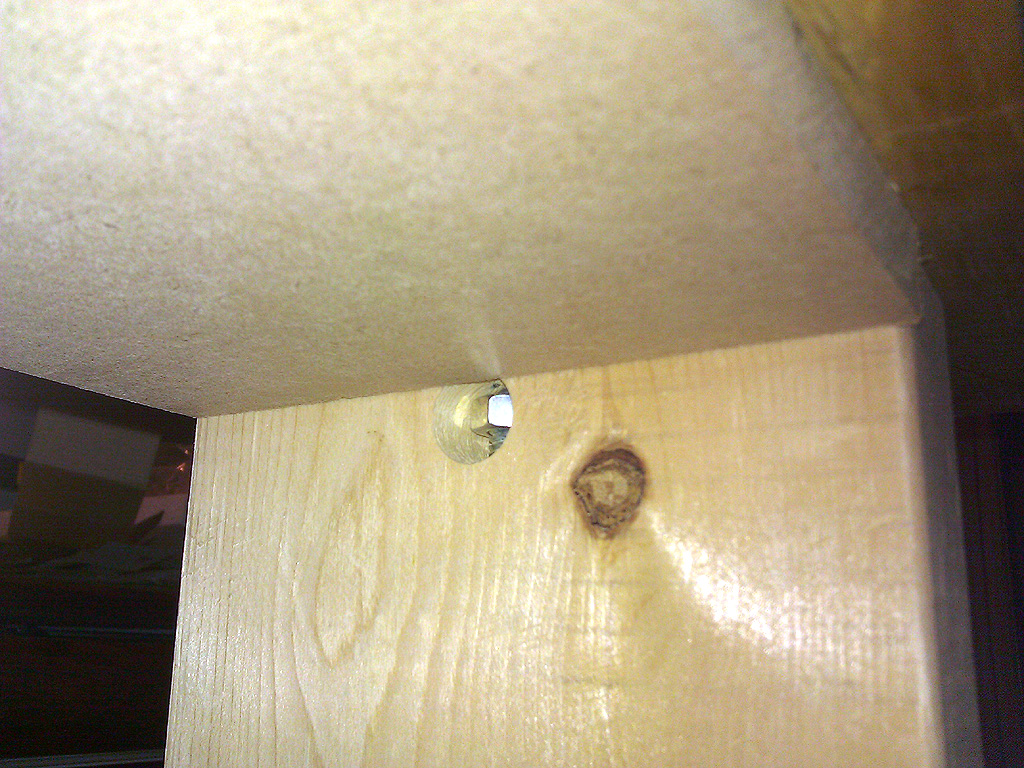
| I put bolts in early to help hold things together while I assembled the rest of the stand. |
|
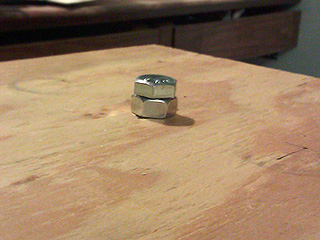 |
| The extra nut here is just filler since there's no grinder in it's place yet. |
|
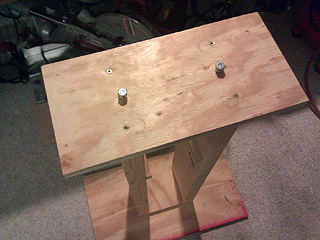 |
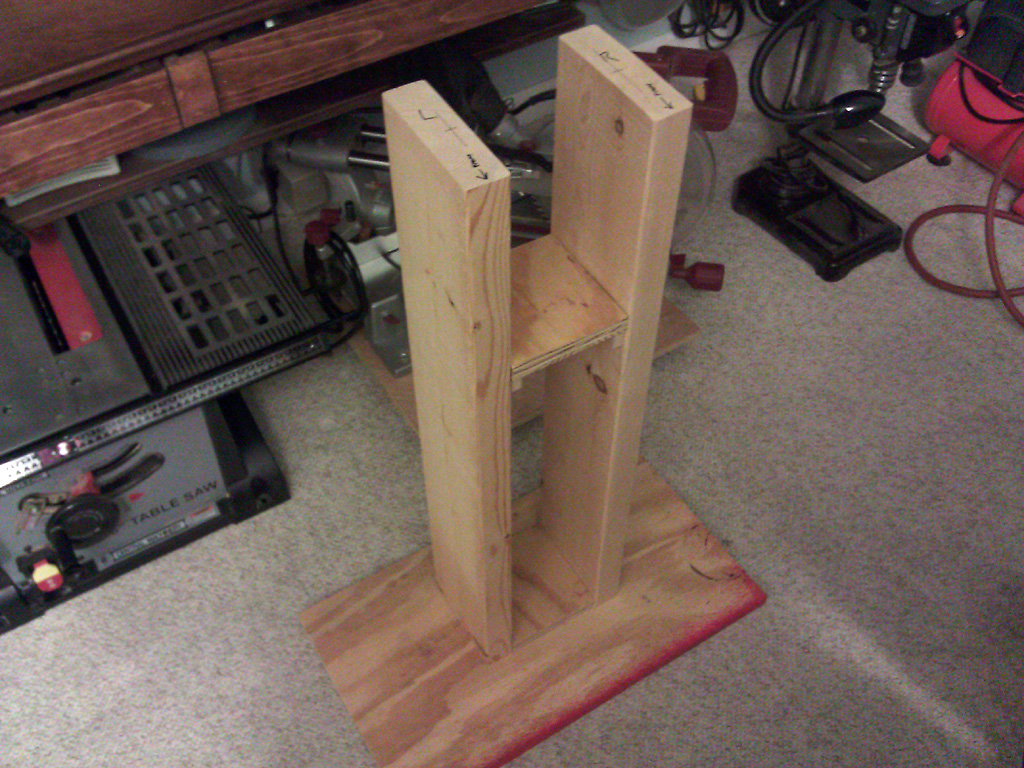
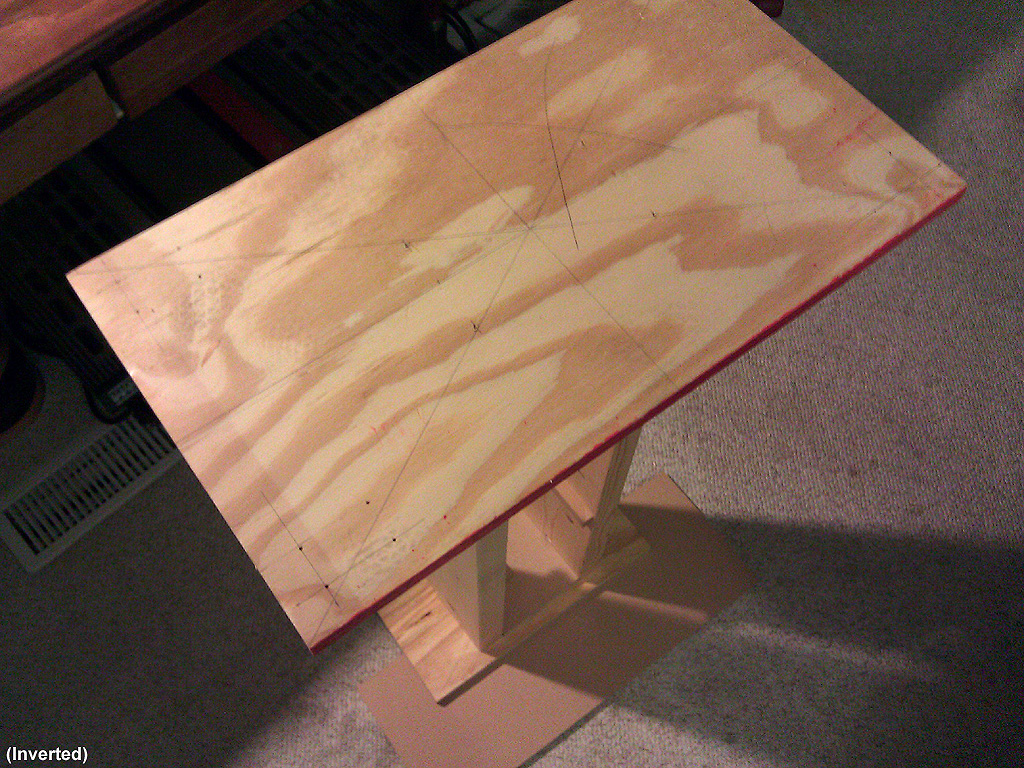
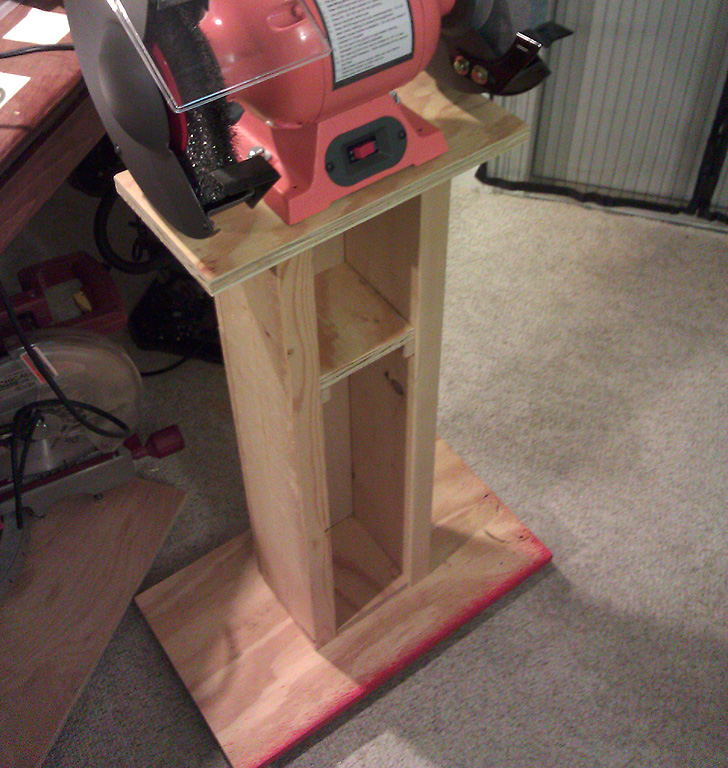
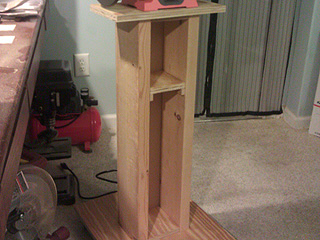
| Here's the top platform mounted in place. |
|
 |
| In the middle you can see were I added rails for a small shelf. |
|
 |
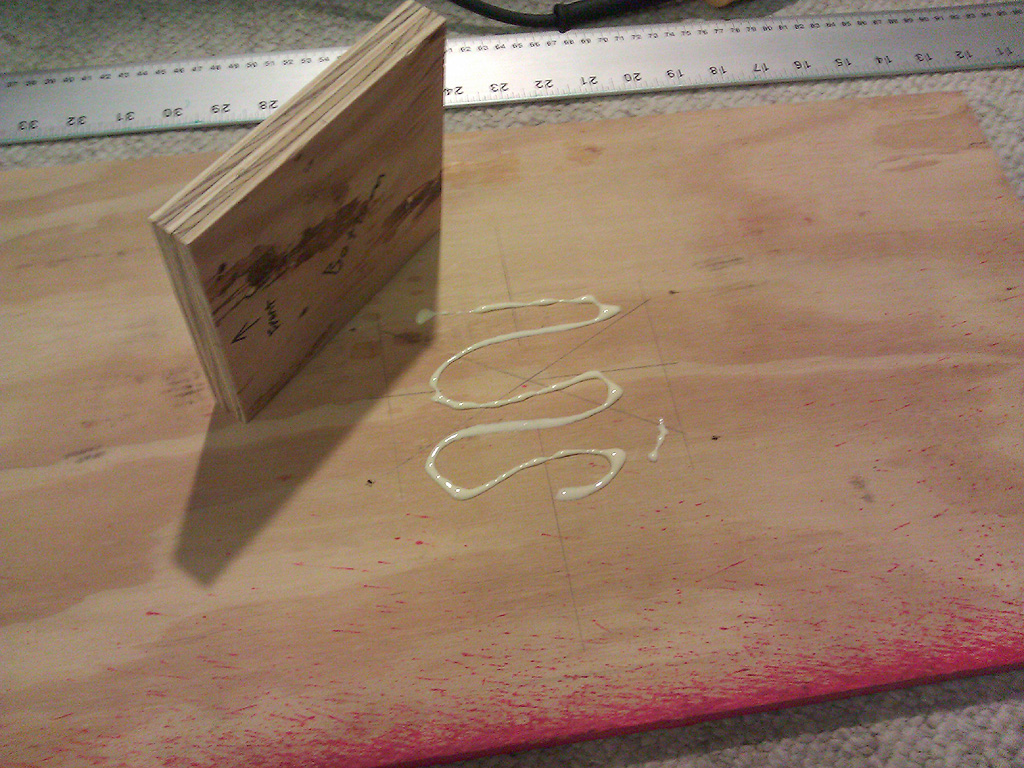
| I glued these small boards to help keep everything square and sturdy. |
|
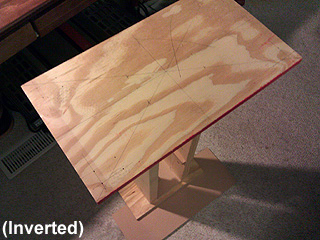 |
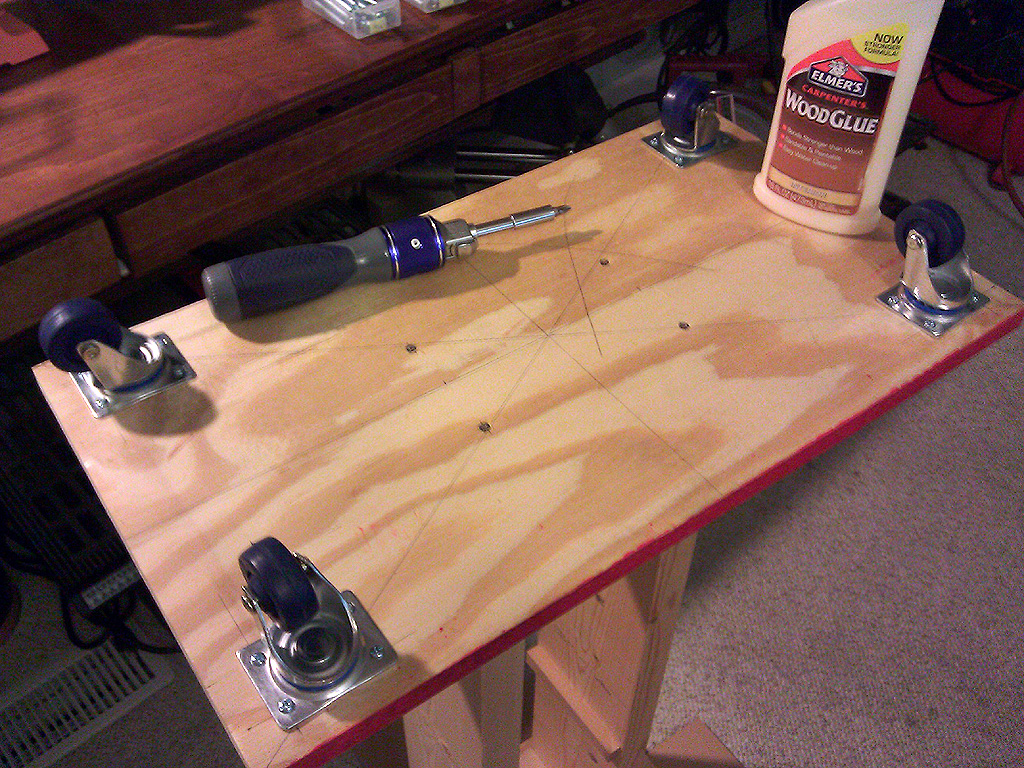
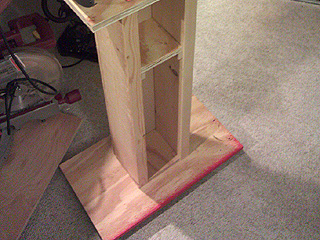
| This is the bottom of the stand. I've drilled holes so it can be mounted to the stand and for the wheels. |
|
 |
| Wood glue was also used to mount this bottom board. |
|
 |
| This is the back side. I used 1/2 inch board to create the back. More importantly this adds stability. |
|
 |
| Here's the back glued and nailed in place with brads. |
|
 |
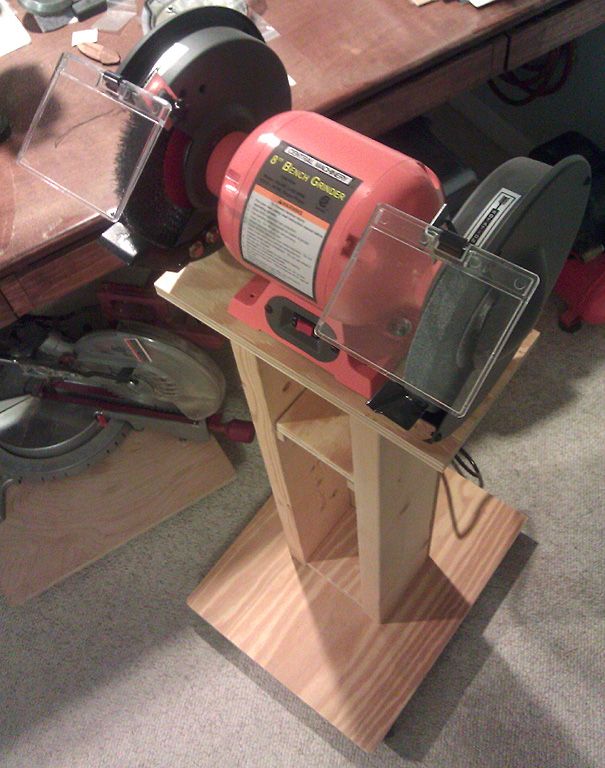
| And in the end, it was too wobbly to be safe! The bottom board had to quickly be removed before the glue dried. |
|
 |
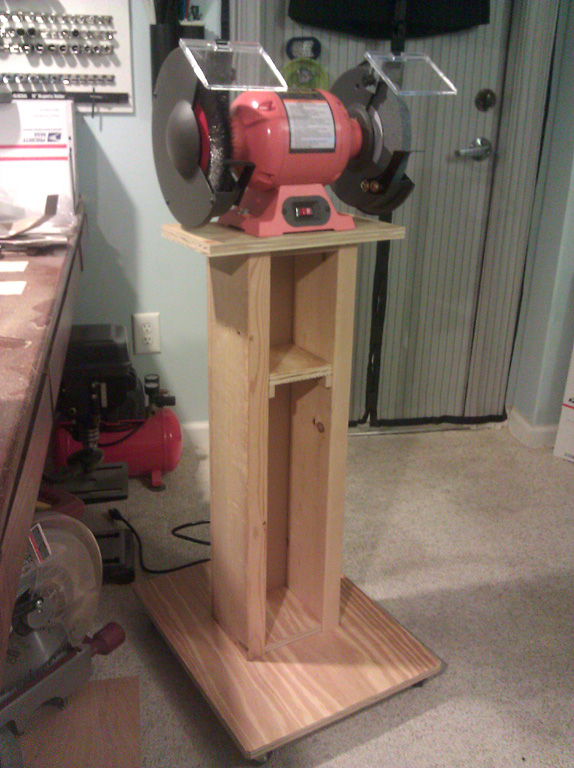
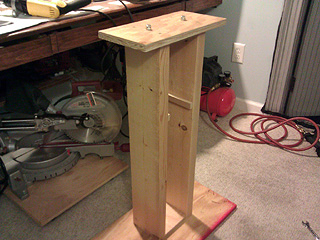
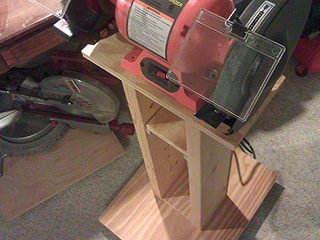
| Here's the final stand after I created a new bottom piece. This one turned out to be plenty stable. |
|
 |
|